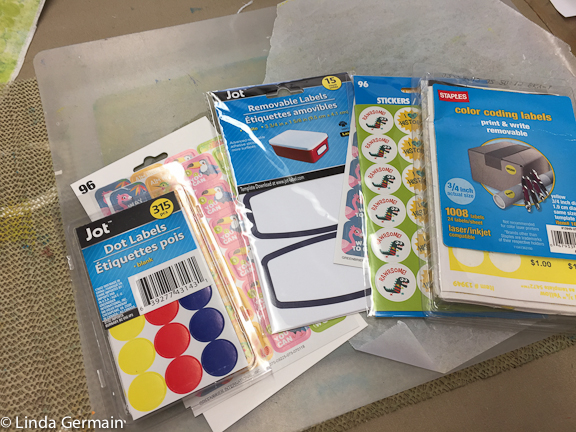
I discovered that I could use sticky labels as masking stencils. So of course I went to the Dollar Tree Store and got a few different styles of sticky labels to play with.
I love the backing sheet. It creates a strong crisp pattern.
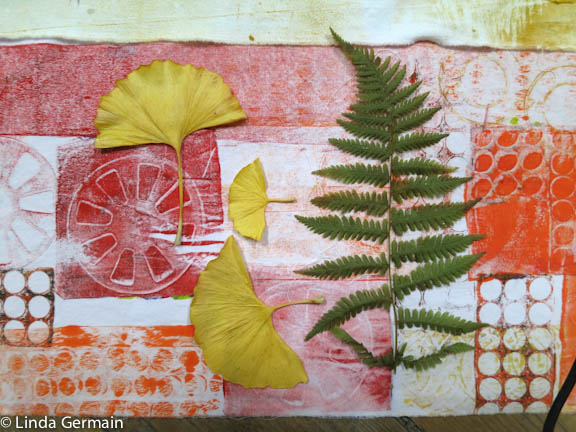
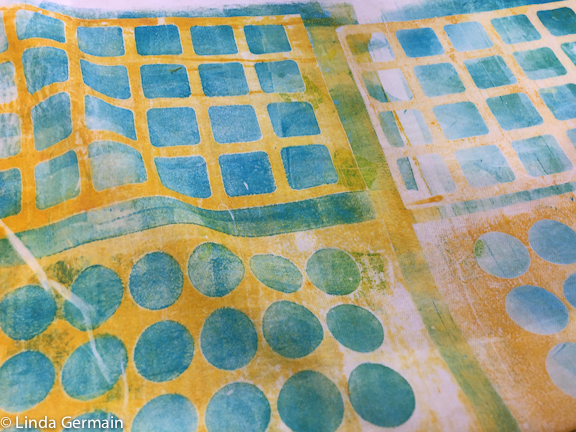
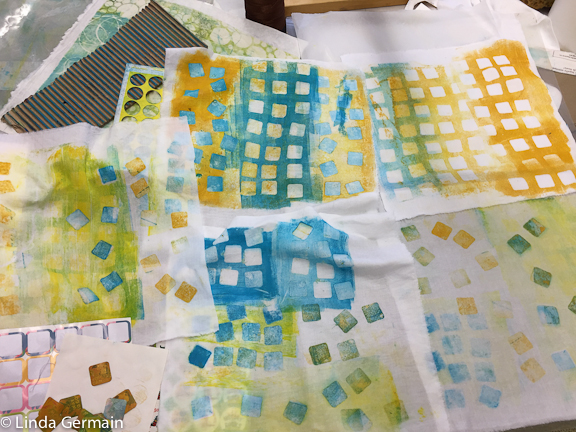
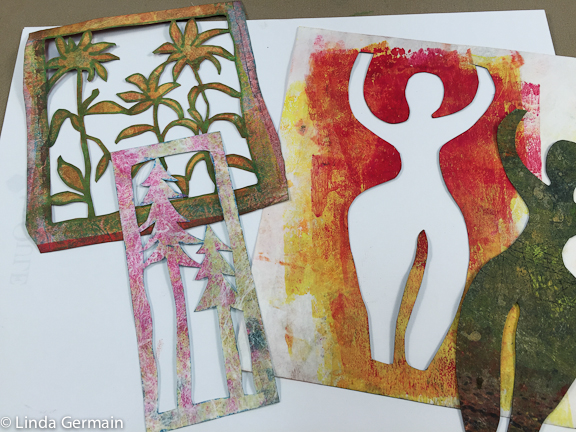
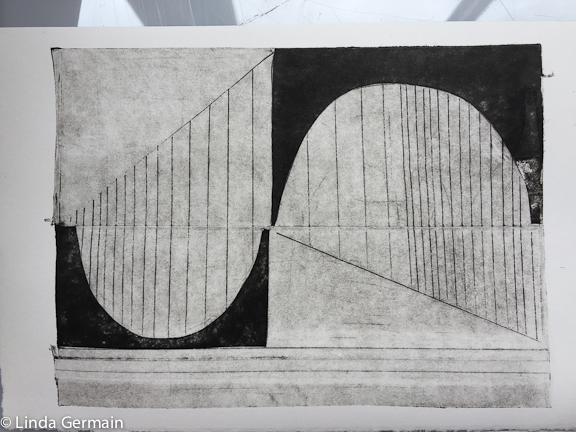
Play with all the parts back and forth and enjoy the lovely impressions.
We will make stencils to be used alone or with other processes like gelatin printing or screen printing. You will start to see stencil making tools in everyday materials.
A stencil is a simplified version of another thing or image. Simplified is not always simple to do.
You need to train your eye to see what is important to the essence of the image and then cut out what is not important.
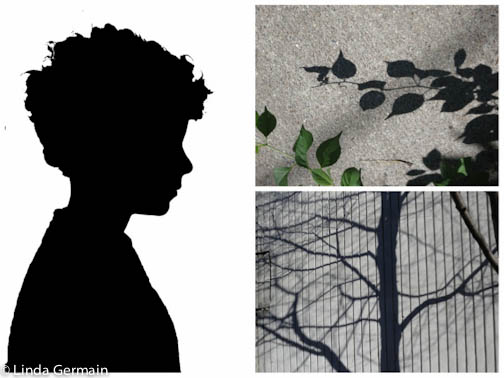
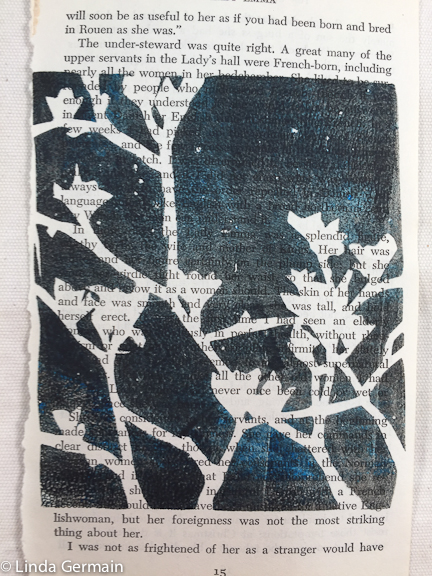
Often if you can choose a silhouette or shadow image to start with then then deciding what is important is a little easier to see.
Then I use a photo copier or photo editing software to get a just black and white image of shapes.
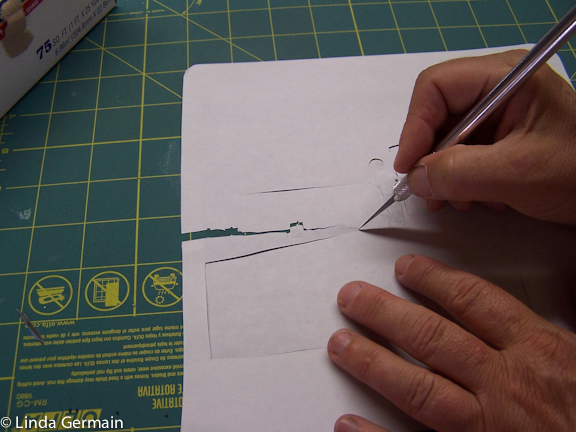
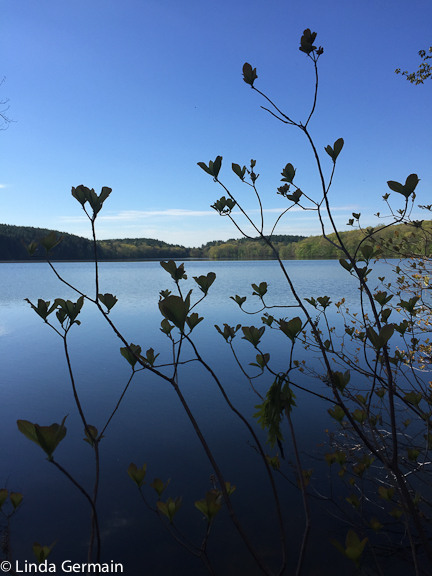
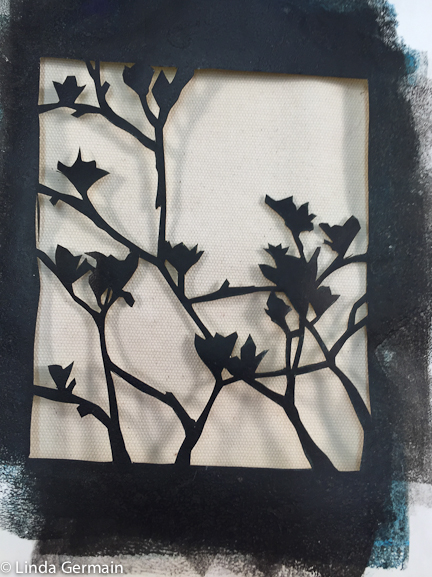
I wanted to focus on the branches and not the landscape part of the photo above. To make a traditional hole stencil, I built little bridges in the design to make the stencil a little more stable.
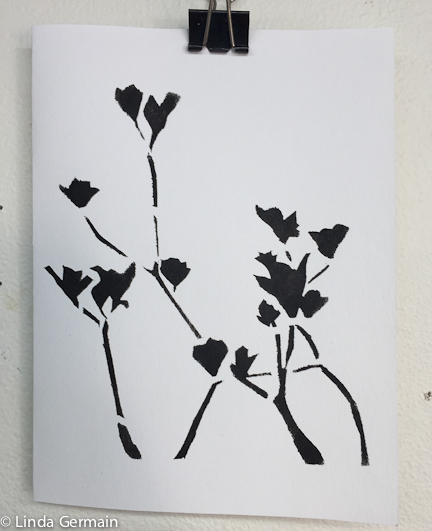
I copied the design onto Tyvek® and cut it out. This process just requires patience, practice and a sharp blade.
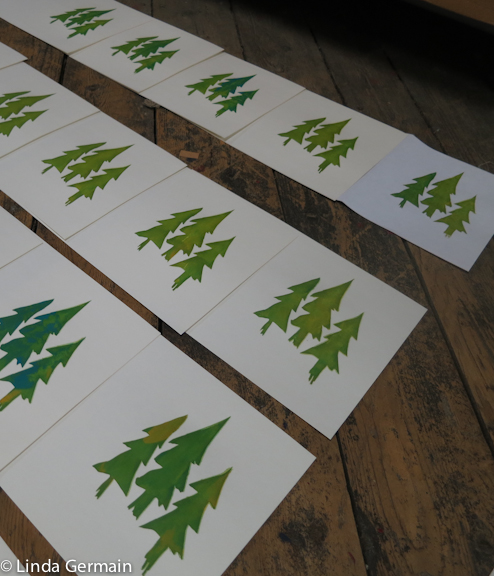
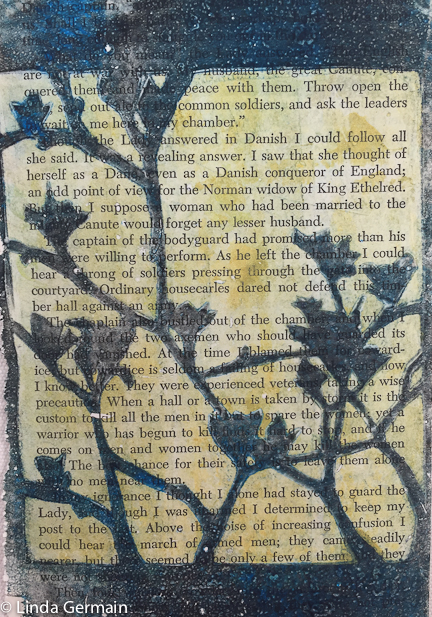
Then I printed this little card.
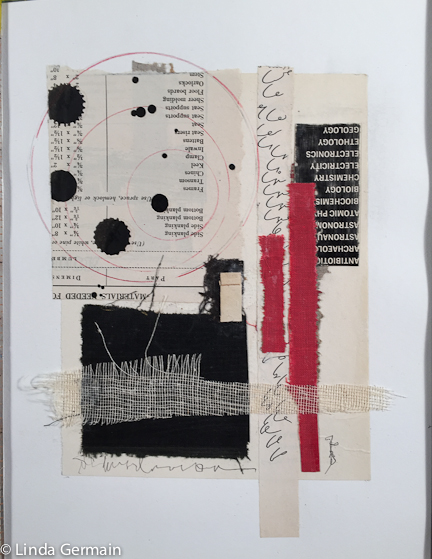
I could combine the stencil with other images, and collage materials. This is just the beginning.
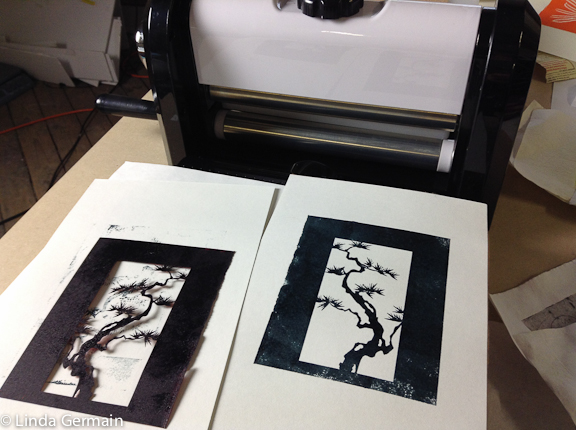
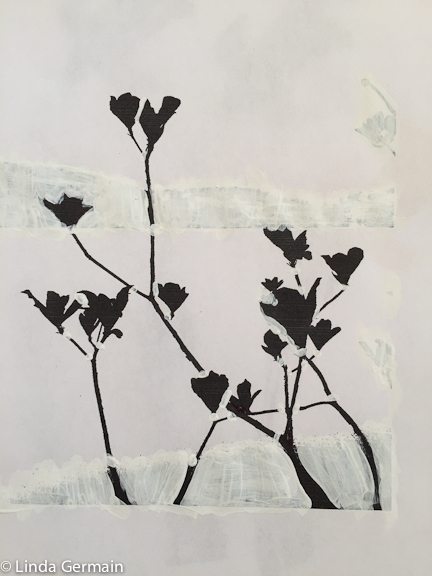
You know that I love to print with the gelatin plate. So I created a modified style of stencil that works really well with the gelatin plate.
This stencil does not need all the bridges and is attached to the rectangular border for stability. Beatrice Coron uses this kind of connection to the edge in her work. Check out her TED talk video in this blog post.
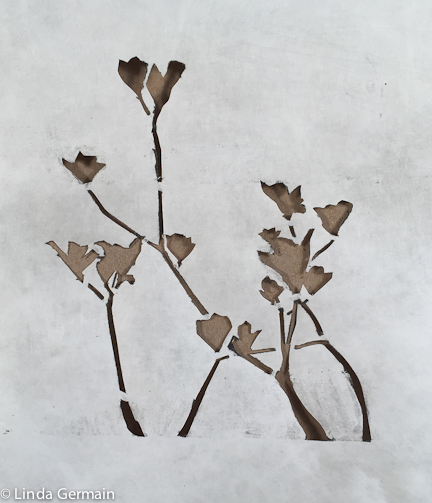
I can get 2 different styles of print with this one stencil. First is the shaped impression, see it at the very beginning of this post.
And the second impression is this one here that I call the detailed impression, because it gives you the details of the ink left under the stencil.
If you would like to train your eyes and hands to make stencils from your own photos and images join us in an online workshop.
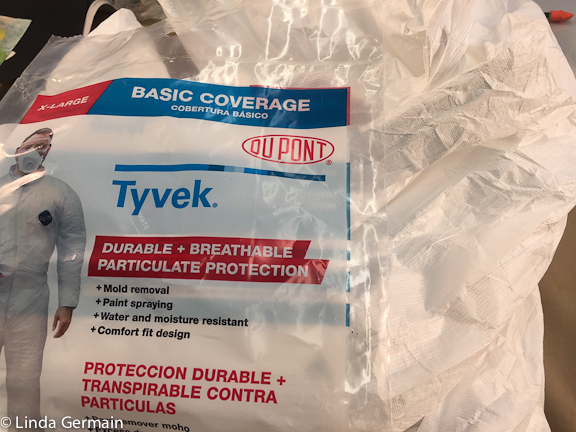
First, though I love Tyvek® for making stencils, I have to say that I made stencils for ten years, before I found the beauty of strong and easy to cut Tyvek®.
So you can make stencils from:
drawing paper
coated magazine covers
Yupo paper
Plastic file folders
reinforced envelopes
Mylar and more
Don’t let your lack of access to Tyvek® stop you from making your own unique stencils.
There are many variations of Tyvek®. There are two main divisions paper-like and fabric-like forms. The paper-like form is stiffer and the fabric-like is soft and scrunchy.
The paper-like stuff is better for stencils because it holds it’s shape. But you can use the softer version to make stencils.
Also the texture of the Tyvek® varies, some times this texture is transferred to your print.
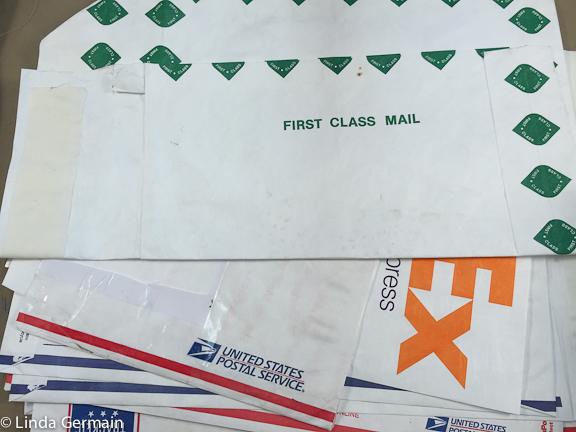
Since Tyvek® is not sold in small amounts as an art supply we need to be creative in finding it.
I spoke to a representative at Material Concepts yesterday about the availability of smaller rolls. The excess inventory is changeable. So you can call and ask if they have any small rolls in stock.
Purchased envelopes or recycled envelopes from the USPS is very affordable and a great place to start to try out making stencils from Tyvek®. These envelopes are the stiffer paper like version.
You can get a fabric-like version at the hardware store in the form of protective suit. This is thin, textured and wrinkly but it it still very strong.
My best advice to find recycled Tyvek® is to look to industries that use it and ask if you can have the stuff that they throw away.
Two users that I can think of:
local builders
carpet sellers
Here is a quick video to show you differences in types of Tyvek®.
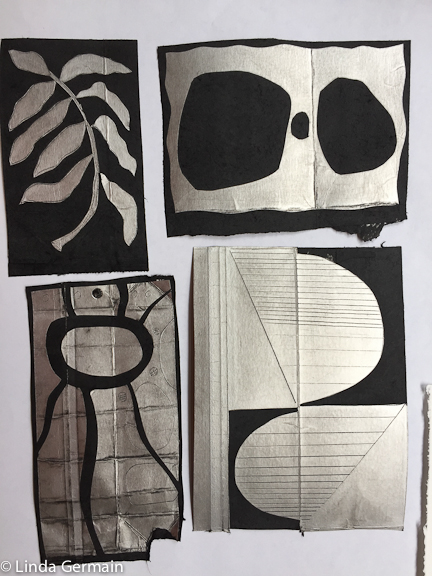
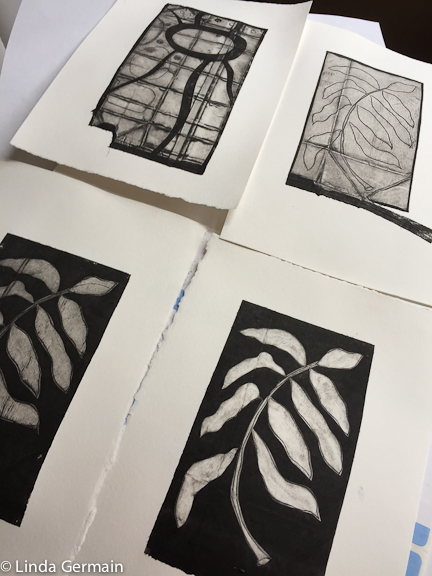
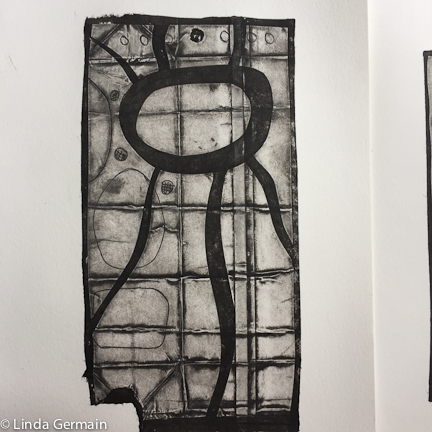
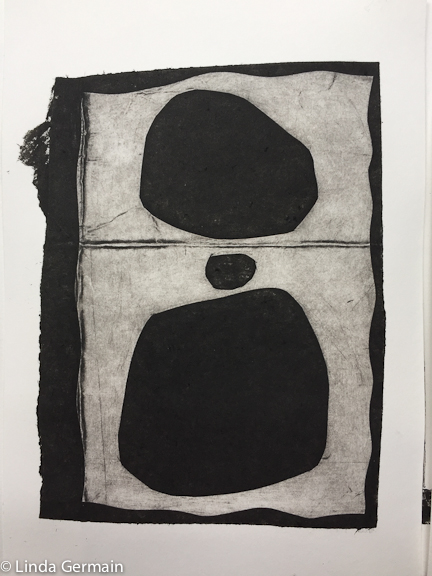
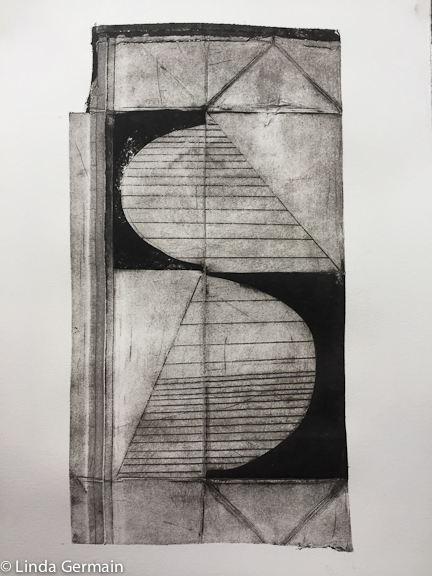
I spent the day making collagraph/intaglio plates with the Tetra Pak packaging.
Those are the plates above. The inside of the package is sliver and slippery. I drew lines with an etching needle and cut away the sliver layer and pulled it off to get the solid black areas.
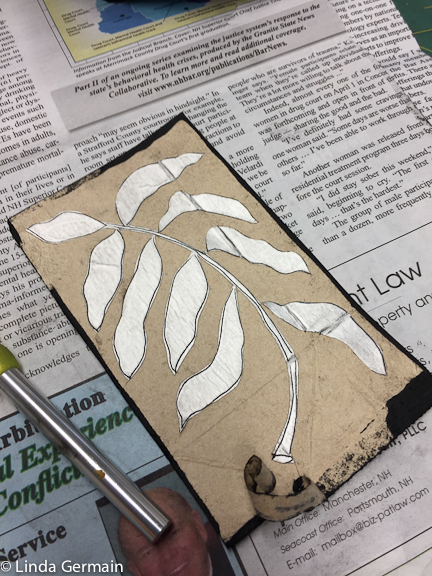
I played with discovering the kind of marks that I like. I did print this leaf as a line drawing first and the pulled off the background to make the bold shape print.
I folded the packaging to create the creases in the funky print below.
I am loving the bold shapes and strong black impressions created by removing the sliver layer of the tetra pak.
I used Akua Intaglio inks and Arnhem 1618 printmaking paper.
I reworked the plates as I went along. I could cut the plate or cut away more as I went along.
I cut off the top and bottom of the plate and reoriented the print and it made a big difference. I love learning new approaches and techniques.