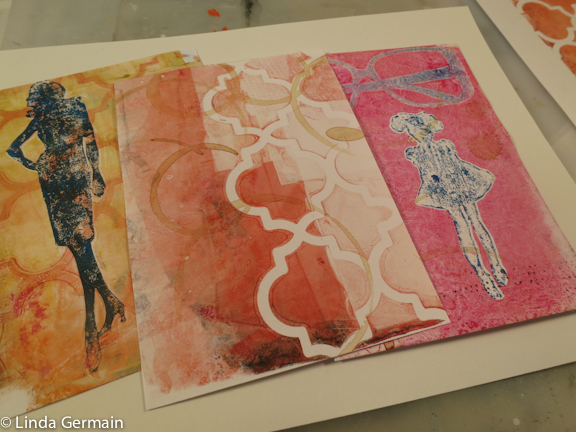
Marbling paper and soaking stencils for printmaking

I took a bookmaking class on Saturday at the University of Southern Maine – Making a Side-Sewn Book from Start to Finish With Stephanie Stigliano
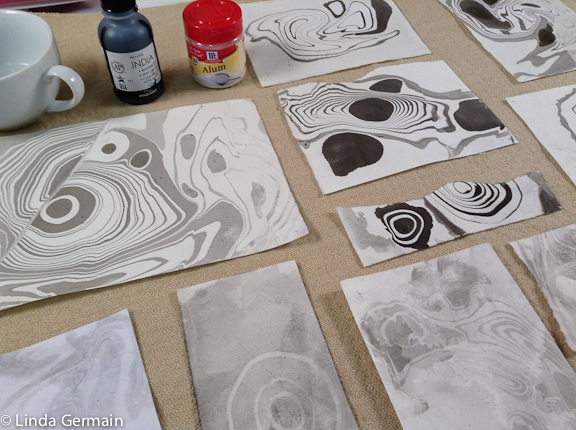
Marbling paper with alum and india ink

We experimented with some simple marbling techniques. We used Suminagashi inks. But she also showed us how to size the paper with alum and water, let it dry and then india inks would work as well.

So I got some alum at the spice section of the grocery store and pulled out the old india ink and experimented. I had to size the paper by wiping it with the alum and water mixture and then wait for the sizing to dry.
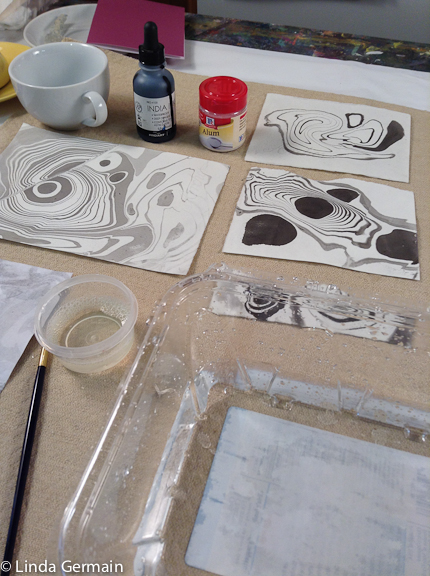
easy marbling paper

I used:

  • a recycled plastic tray for the water bath
  • diluted detergent as a dispersant
  • two small paint brushes
  • various print papers
  • Arches worked the best and I am not really sure which arches paper it is.

I enjoyed the process even though most of my prints “failed.” So I have ordered some of the suminagashi inks and I look forward to experimenting with them.

Even though ink was not sticking to my paper, I was learn about how to use the brushes and very gently touch the surface and create designs.

I am soaking some new leaves and ferns in a glycerin and water bath. Just mix 2 parts water to 1 part glycerin and fully submerge fresh, strong leaves for a five days. The leaves absorb the mixture and stay flexible for a long period of time.
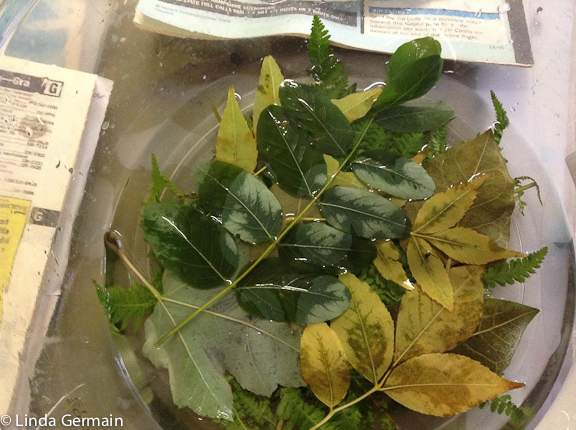
preserving leaves with glycerin and water

They do not last forever, but they are much more pliable and make better stencils for making prints with the gelatin plate.

Marbling paper and soaking stencils for printmaking Read More »
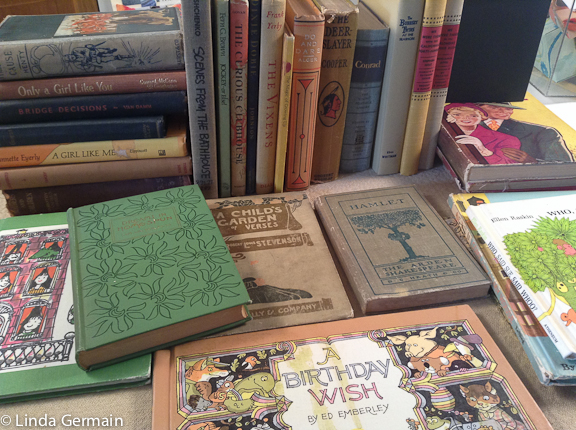
Books as tools for Mixed media printmaking

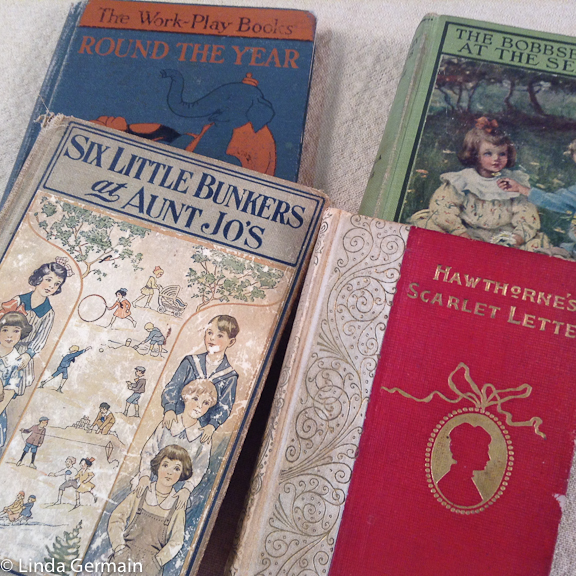
Recycled books for art makingI just gathered my new stack of old books from the Haverhill Public Library book sale. $5.00 gets me a pile of books that can be used for:

  • altered books
  • stamping tools
  • black out poems
  • print paper

old books for making altered art books

I look for old books with

  • interesting covers
  • cool illustrations
  • big print
  • raised details

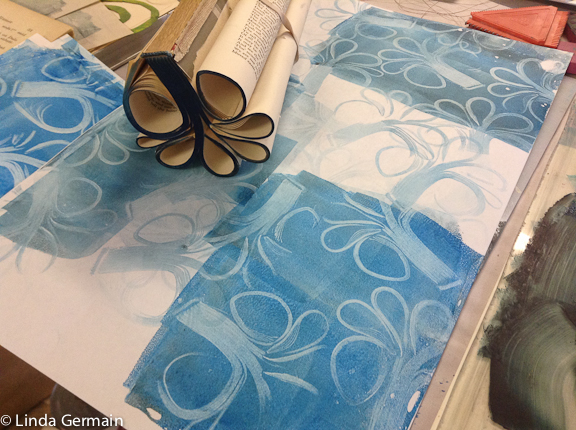
I curled the pages of a text block and made a stamping tool to be used with the gelatin and glycerin printing plate. This was just a quick test print, but I think there is some potential here.

text block rolled into a stamping tool for gelatin printing

What do you think? Would you use books as art materials or are they too precious?

Books as tools for Mixed media printmaking Read More »

Watch videos and then start Printmaking

We are so lucky! The internet has made learning so accessible.

Here try it!

Learn how to ink your brayer.

The goal is to get a thin, even layer of ink around the whole brayer.
  • Put a small amount on one corner of your palette
  • Pull a small amount out from the big “blob”
  • Let your brayer spin around and around to evenly coat the whole brayer
  • Turn your brayer perpendicular to itself to work your ink up in a small area of the plate

Trouble shooting:

  • Brayer is just slipping – too much ink, or are you using acrylic paint or a very fluid ink
  • Too much ink in one spot – to fix roll ink in the clean areas of the palette, this will work to get rid of some of the ink on the brayer, but wastes ink by just spreading it all over the palette
  • Ink only on one side of the brayer – Lift the brayer up and let the brayer spin all the way around. Most folks roll the brayer back and forth and that only works the bottom half of the roller.

Inking the Brayer – Tips

  • Put out a small amount of ink, because you can’t put it back in the tube but you can always put more or your palette
  • Know that all inks act differently, so be patient and give yourself time to learn how to get the most from your ink
  • Oil and water don’t mix, so know what kind of ink you are using
  • Always clean your brayer carefully and don’t let permanent inks dry on it.

Want more info, videos and inspiration then join us in the next workshop. Check out the details on the printmaking workshops page.

Watch videos and then start Printmaking Read More »

Time to take a Printmaking Class

Give yourself the gift of time to practice your art.

I love September. It is all about going back to school. So I gave myself the gift of an art class. You could do the same.

Make Monotypes is a 4 week online printmaking class and it starts on September 19th. One student’s experience:

PRU2It was the best 4 weeks I can remember ever having in February! Linda’s preparation and planning for the class were flawless, and if we still had questions about the process, she never hesitated to think of different ways of explaining it.

I loved finding that there were participants from all over the world. It was a truly rich experience! The class left me with a huge curiosity about what I can now do on my own. Printmaking will continue to be a huge part of my art-making!

Just that I’m very grateful for Linda’s consideration, sensitivity, and sense of humor.
Pru Barry – Make Monotypes

You will get 40+ videos that are designed to get you printing and making lots of impressions. The class is 4 weeks of tiny actionable steps, so that you actually do the lessons.

Here is a summary of the lessons:

Week 1 – Jump in and make the printing plate. Get to know all about masking stencils.

Week 2 – Explore Texture – find and create mark-making tools that are used to lift off or apply ink to the plate. The inspired by your surroundings and make several tools of your own.

Week 3 –  Combine and Control – This week take those marks, prints and images to a more developed a more controlled or satisfying monotype prints on  paper. Learn  to create and use a masking frame.

Develop control in your gelatin printmaking

Week 4 – Papers and Possibilities –  Consider the substrates and surfaces that you are printing on.  We will learn about refreshing and restoring the plate. We will make decisions about finishing prints and make a plan for continuing the series of monotype prints. Make a commitment to your continued growth and success.

If you are on the mailing list, I have sent you a special discount so check your email box and join us today! I am sure that you will pull lots of prints that may even become holiday gifts.

Read the details here on the printmaking class page and register today.


Time to take a Printmaking Class Read More »

Try Yoga Printmaking – Be Present

This past week my art making pulled me into the present moment and even out of a grumpy mood.

I was surprised!

You may do yoga and meditation to quiet the mind and to get into the present moment. I try these activities every so often but they have not become a natural habit yet.

So maybe for artists like us, our art making is our mediation. I do use a printmaking process to get warmed up for gelatin printmaking.

I call it Yoga Printmaking.  It is all about building muscle memory and not about perfect prints.

Try Yoga Printmaking

The goal is to
  • follow my voice and keep printing
  • focus on the simple repetitive steps,
  • build muscle memory,
  • get to know the steps of gelatin printmaking.

This kind of warm up is good for getting into the flow of printmaking if you have been away from it for awhile.

Check out the current online workshops.

Try Yoga Printmaking – Be Present Read More »