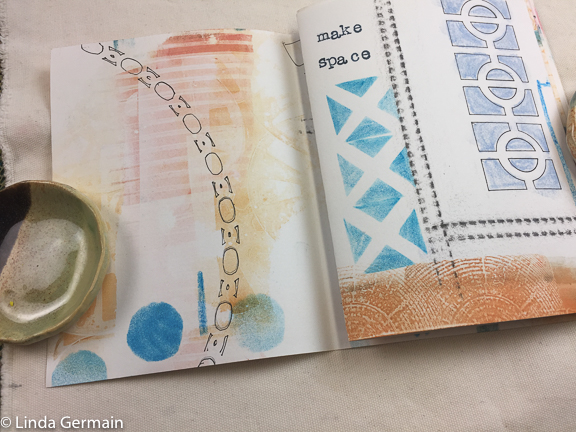
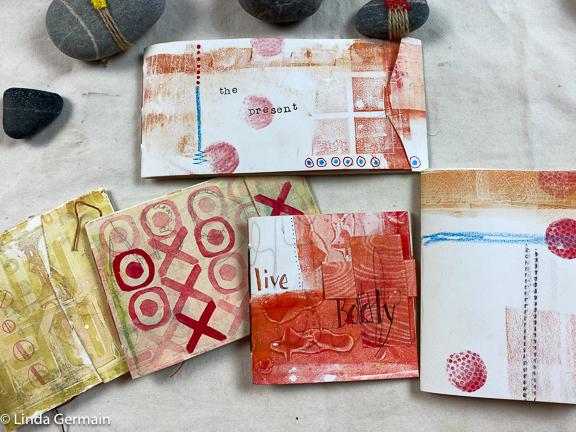
mark making

Add a focus to your gelatin print

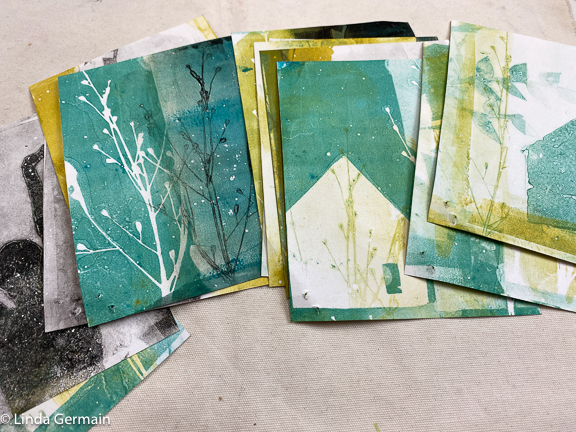
It is easy to make textured and patterned pieces of gelatin plate printed paper. This is a great way to get started with gelatin printmaking.

textured gelatin plate monotype prints

You can learn a lot about:

  • mark making tools
  • kinds of marks that are possible
  • what happens when you layer

These patterned papers can be used for collage or as foundations for a “finished” print.

gel plate prints by linda germain

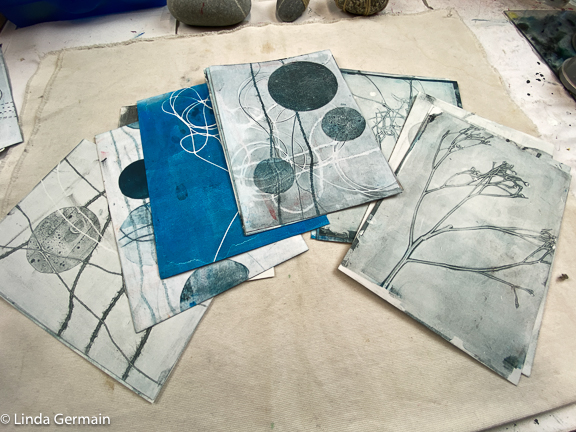
In the class, Simplify, we use simple stencils like threads, circles and weeds to learn what is possible with ink and the gelatin plate.

gelatin plate print on paper

By working in a dark blue-black color scheme, we can easily layer impressions without the need to consider the color mixing affects of plate ink.

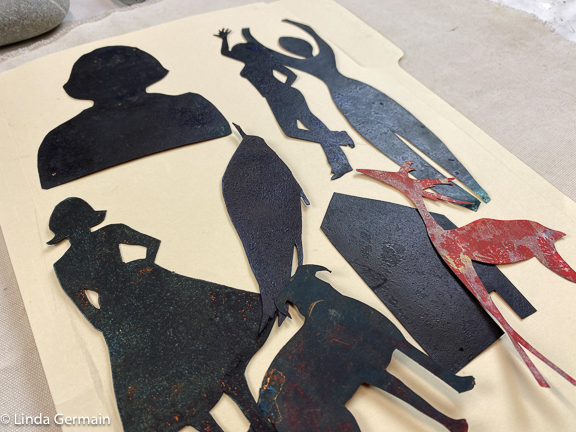
masking stencils for gelatin printmaking

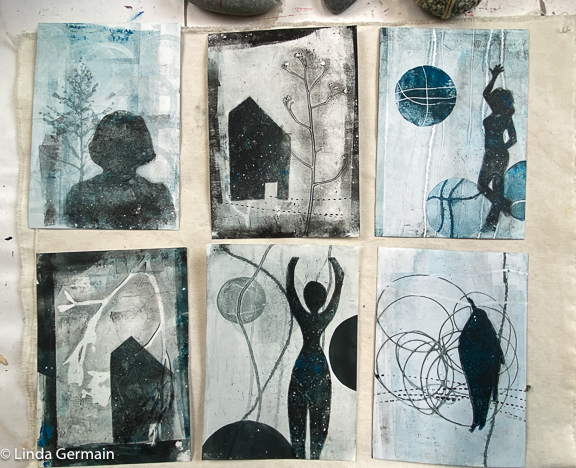
I was thinking that I could add interest and a focus to some of the simplified prints and it might be another way to create a series of “finished” prints.

simplified gelatin plate monotype prints

So today, I pulled out some old weed and circle prints and added a dark focus with a stencil. I was pleased how it transformed the print.

Join us in the online class, Simplify – gelatin prints. Class starts March 1st. Read all the details on the workshop page.


Add a focus to your gelatin print Read More »
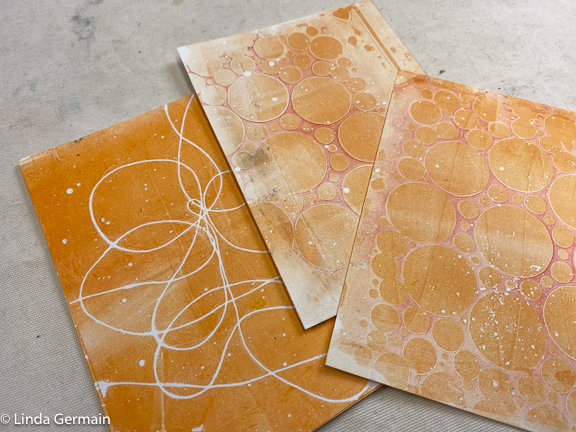
Make a brown bag book

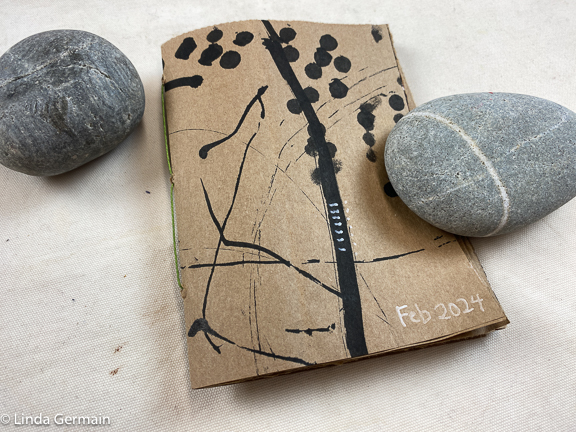
Today, I had the urge to make a brown bag book. I share with you my process so you can make some too.

brown bag art book

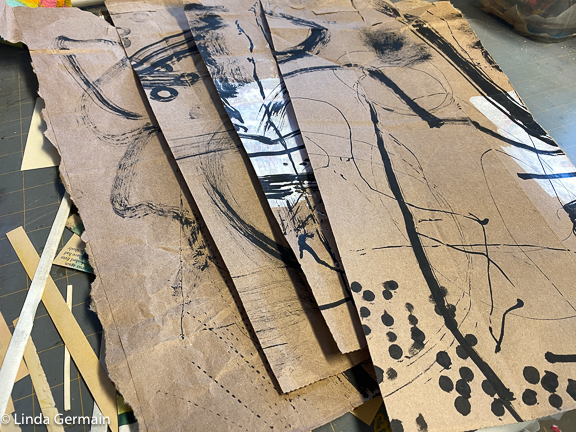
  • First I took the bag apart, so it was one flat sheet.
  • Then I ironed out the wrinkles
  • Painted white gesso over the store advertising
  • Added some bold black india ink marks
  • Cut into long 10″ strips (final size 6″ x 9″)

rough cut book pages

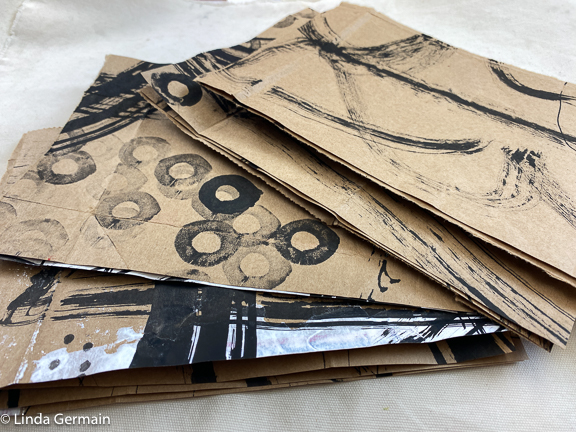
book pages

  • The cut the long 10″ strip into 6″ x 9″ sheets
  • Fold each in half and stack inside each other to make a single signature
  • Clip together and punch 3 holes in the spine
  • Follow video instructions to sew together

A couple of extra tips:

  1. It is ok if the pages are not perfectly the same
  2. Make sure your holes are big enough for easier sewing
  3. You can choose how you stack your sheets so you create a blank page spread and then a painted spread. Play with how you stack the sheets together to create a book that suits your style.
  4. Press with heavy weight to get it to lay flat

I hope you enjoy the process as much as I did. Check out the self study classes available now.

Make a brown bag book Read More »

Make Marks Supplies List

You can make interesting marks with simple tools. Enjoy this quick video.


In this online class we will layer marks to reveal a visual story. Read all the details on the workshop page.

The suggested supplies:

  • Gelatin plate – FREE recipe here
  • Speedball water based ink
  • brayer
  • paper of your choice – I like
    • 90 lb drawing paper 12″ x 18″
    • Rice paper on a roll or 12″ x 18″
    • Tracing paper on a roll or 12″ x 18″
    • I like these sizes and papers because I am making a long landscape shaped book, but you could do the techniques at any size. So use what you have
    • One large sheet of sturdy printmaking paper, watercolor paper or mixed media paper for the cover. I use Arnhem. But you can use what you have.
  • Cardboard
  • thin easy to cut craft foam sheets
  • set of small children’s blocks (dollar store)
  • water based markers
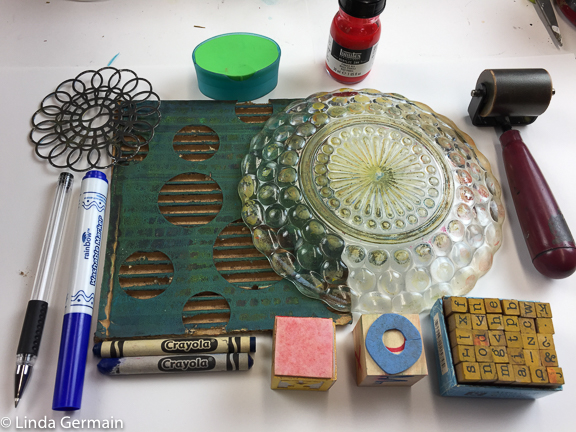
  • Variety of found mark making tools (see photo below)
  • glue
  • exacto knife
  • soft crayons

Hope to see you in class.

mark making into books


Make Marks Supplies List Read More »

Go back to your sketchbooks – reference

Generally, I need a reference for drawing. I don’t do so well just drawing from memory or imagination.

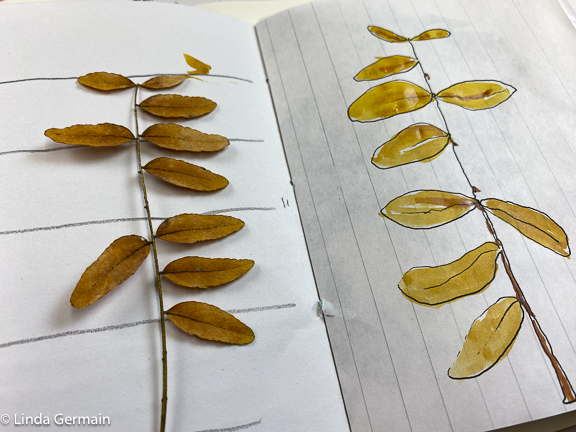
drawing of leaves

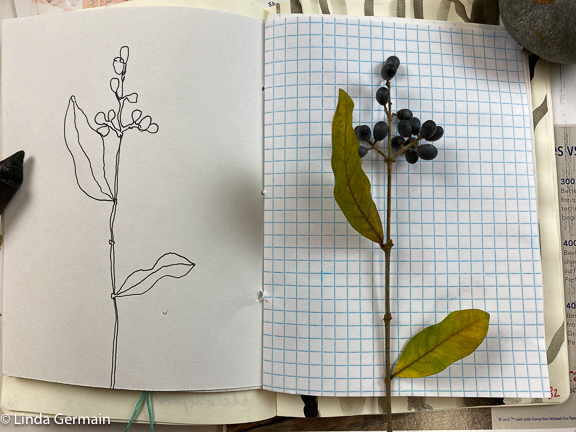
Some of my favorite drawings are the ones of twigs and organic items found in the woods. They feel authentic, real, most like me.

twig and berry drawing

Recently I have been looking back through my sketchbooks to find flowers, leaves and doodles to add to a new book.

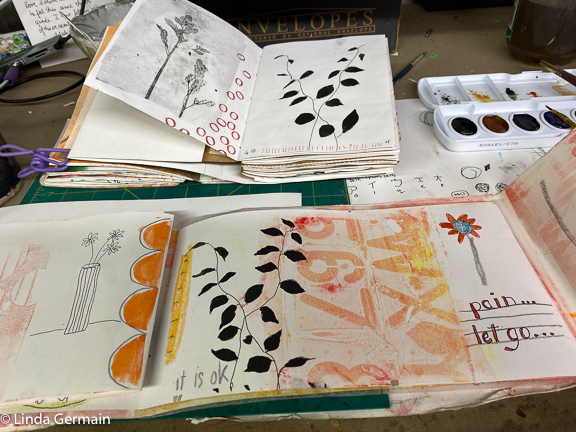
use sketchbook for drawing reference

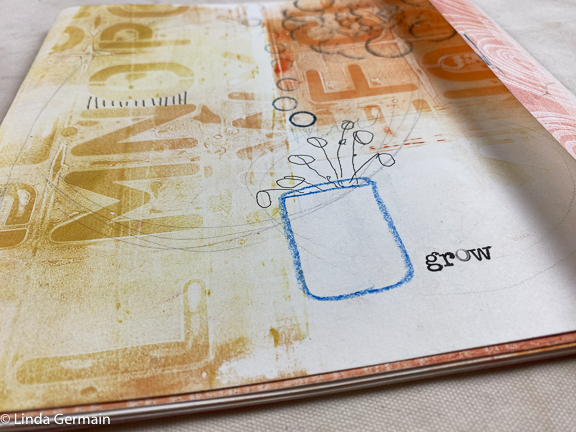
In the image above, I used the sketchbook drawing of the black vines as a reference for the lower drawing in a new book in progress. The bigger book is one I am creating with the lessons from the Make Marks + Books online class. The book is layered with marks, prints and doodles. And in this one I am finishing it with leaf, vine and flower drawings.

This loose layering approach:

  • fosters just beginning and going with the flow
  • allows you experiment with different kinds of mark making
  • delete, cover or edit undesirable marks
  • discover meaning, focus or story as you go
  • identify your strengths and preferences

If this sound interesting to you, then read the details on the Make Marks + Books workshop page. Class starts soon.

Go back to your sketchbooks – reference Read More »

Layers of marks – a story

I like to make marks with:

  • stamping tools and the gelatin plate. The details can be amazing.
  • a pencil/crayon and my non-dominate hand.  The line can be raw and authentic.
  • small hand made stamps. The patterns can be very stabilizing.

mark making tools

I combine these and a few other mark making techniques to make visual story books.

mixed media artist book

If you are curious about this approach to art making, then check out the details of the upcoming class Make Marks + Books.

mark making into books

This 7 lesson class is about exploring mark making and using a few simple printmaking techniques to make artist books.  We will use a non-linear approach to layering and responding to the images. It is intuitive and yet guided by design principles, like variety and repetition.

art books with mark making and printmaking

Join me in the online class – Make Marks + Books. Give yourself the gift of time to explore.

Layers of marks – a story Read More »