Hands Raised in Joy – a Monotype Print
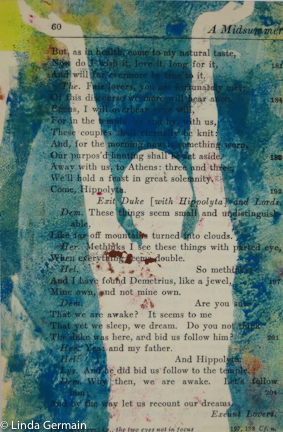
Joyful Celebration a female figure gelatin Print by linda germainLet’s raise up our hand in joyful celebration.  Why not?

Monotype Print

  • is on a book page and then
  • attached to the index card for the ICAD challenge
  • so simple
  • one step
  • inked the gelatin plate
  • laid down the masking stencil
  • placed the book page on top and
  • pulled the monotype print

This very moment I have decided to join the Link Love with the others over at Daisy Yellow.  This is the deal every friday share 5 fab links with my readers.  So here I go

  1. Deek at Relaxshacks is an energy and inspiration to me.  I think he will inspire you even if you are not into the Tiny House Movement.
  2. Susan Gaylord is a treasure.  She makes books, has tutorials and words of wisdom.  She even has a new book out Art Lessons.  It is about art as a full time life
  3. I met Lydia Fiedler in Austin, Tx this spring. She has great humor and enthusiasm  for mixed media art making.  She writes at Understanding Blue.
  4. Be inspired by the watercolor figure painting of Gretchen Kelly
  5. A realist painter who is local to New England, Debbie Shirley amazes me with her skills.  Enjoy some of her work here.
share the link love daisy yellow

I came in a few months late to the Link Love project, but it feels good to share these gems with you.

If you see this bright yellow button you will know they are sharing the love too.


Happy Printing!


Hands Raised in Joy – a Monotype Print Read More »
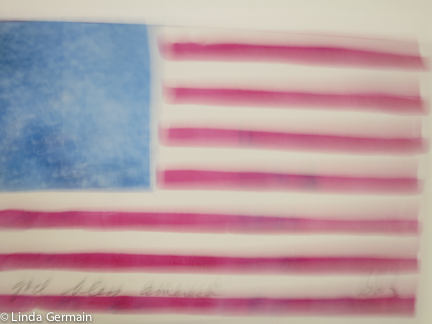
Hand printed flag for Independence Day

hand pulled monotype print inspired by the american flag by linda germain

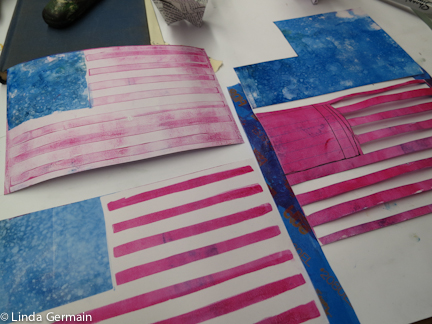
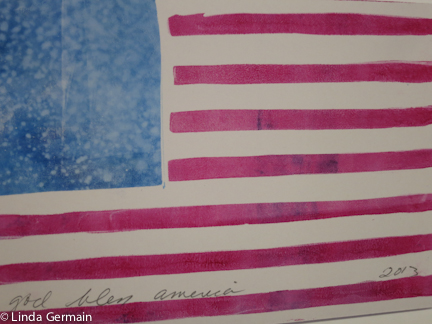
A hand pulled American flag inspired gelatin print today in honor of the 4th of July Independence Day here in the USA.  To create this

Hand Printed Monotype

  • I used to index cards to make my masking stencilsmasking stencils and gelatin plate prints by linda germain
  • the index cards had the perfect number of lines to get 7 red stripes
  • I marked the rows that should print red and cut them out
  • I put a couple strips of tape on the edge to hold the card together
  • the photo shows you the two masking stencils on the right side
  • and the 2 gelatin prints that I hand printed on the left


I don’t usually plan and think out my gelatin prints and layers.  But this was kind of fun to do today.


You would think by now I would know that things get reversed when printing on the gelatin plate, but no.  The first print that I pulled was backwards.   Aaahhhh it was only an index card and it now has potential to be something else, something magenta but not an American flag.

gelatin print of the american flag by linda germain new england printmaker and teacher

Hand printed flag for Independence Day Read More »

Masking stencil print

simple stencil print by linda germainToday I kept the stencil print simple

  • I found a bright and chaotic gelatin print in my pile of index cards
  • Inked the gelatin plate with the blackest black/blue I could mix up
  • set the masking stencil on top of the inked gelatin plate
  • then printed on to my chaotic colorful gelatin plate print

This stencil print

  • uses a masking stencil that I cut out of 90 lb drawing paper
  • coated with mat medium several time and
  • was created from a photo of my nephew.

You could easily print this with out a gelatin plate, just dab paint on to the print paper by hand while holding the masking stencil in place.  But I try to use the gelatin plate when ever I can.

If you have not tried gelatin printing yet, well then do it!  

  1. Make a gelatin plate here’s the video tutorial or
  2. Follow the written instructions on how to make a plate for gel printing
  3. After the gel sets up and does not wiggle!!! then put it in the refrigerator at least for a few hours.  I like to leave it over night.  Or skip all this and buy a gelli plate
  4. Gather paper and inks or paints, stamping tools and masking stencils
  5. and Play all Day!
  6. then Share your success with the gelatin printmaking flickr group and the Facebook group
  7. Be Sure to check the FAQ page if you have any questions about gelatin printing.

Happy Printing!

Masking stencil print Read More »

Easy Printmaking with great results

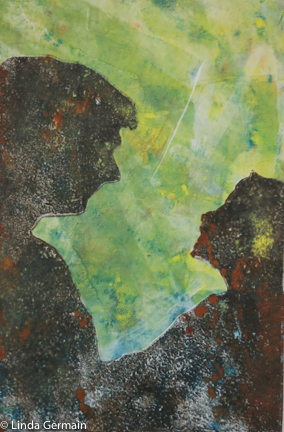
father and son silhouette a gelatin print by linda germainI am always amazed with the amount of detail that is possible with gelatin printmaking.  That is why I continue to do it day after day.

Easy Printmaking

For today’s ICAD 4 x 6 gelatin print –

I am so happy that I committed to doing the index card a day challenge.  It has –

  1. got me gelatin printing daily
  2. posting images on line daily
  3. thinking about my process more
  4. learning how to share that process
  5. feeling good about keeping a commitment
  6. connecting with like minded people

WOW – that is a lot of good from one little index card print a day!  It is not too late to give yourself the chance to have these benefits and more.  Just jump in the group and start making something on an index card each day and then share it with the flickr or Facebook groups.


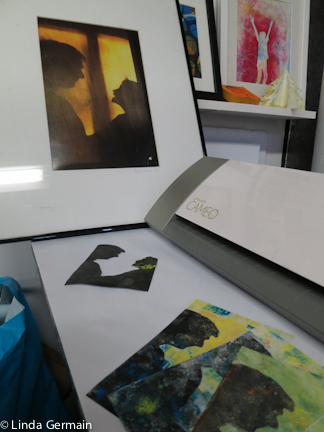
Tools for gelatin print of the day by linda germain

I have included a picture of

  • the cameo machine
  • my other gelatin plate prints
  • the stencil and
  • the photo that was my reference for this gelatin plate monotype print

If you are new to my way of easy gelatin printmaking then check out these online resources to get you printing and having fun.

Happy Printing!

Easy Printmaking with great results Read More »

New Stencils for Gelatin Printmaking

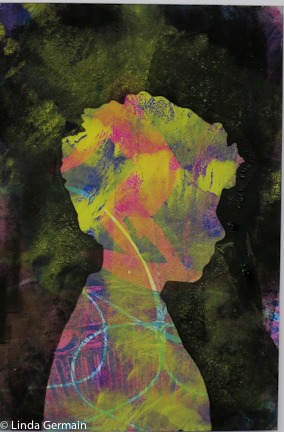
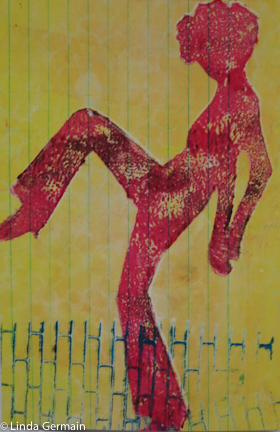
dancing girl a gelatin plate print by Linda GermainA new stencil for today’s ICAD gelatin print.  I found these fun copyright free images from Francesco.  I have used the Silhouette/Cameo machine to cut out several so you will see some new figures in my gelatin plate prints in the next few weeks.

Some steps I took to make these

Stencils for Gelatin Printmaking……

  • isolate the image and save as a jpg in photoshop
  • open the jpg in the silhouette software
  • watched several youtube videos on how to use that program
  • be patient with my learning curve 🙂
  • Trace the outline and create the cutting lines (in the program) easy after I got the hang of it
  • Let the machine cut it out
  • Carefully remove the cut out from the sticky mat
  • Then I did coat it with several layers of mat medium to make it sturdy
  • I cut it out of 90 lb drawing paper, but you could cut it out of plastic, mylar, or other material and then not have to coat the stencil.  I do it this way because I like how the ink reacts with the coated paper.

Play with Printmaking!

Then the fun begins –  I pulled out a stack of index cards and started making gelatin prints for the ICAD challenge.

  • Pre-inked the figure
  • Set it to the side
  • Ink the gelatin plate with yellow speedball block printing ink
  • ink the bottom of a flip-flop with blue ink then
  • stamp on to the the yellow layer of ink
  • Place the figure ink side down  on the gel plate
  • Place print paper on top
  • Burnish
  • Sneak a peek
  • Peel back the paper BUT still stuck to the gelatin plate
  • Remove the stencil
  • Roll the paper back down  and
  • Burnish again
  • Peel it off the plate and ADMIRE!

Happy Printing!


New Stencils for Gelatin Printmaking Read More »