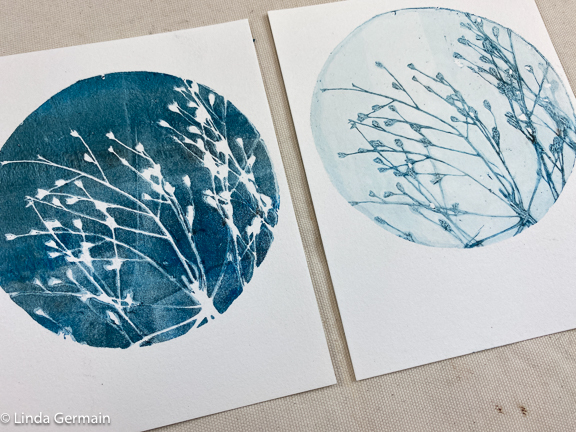
I my Simplify – Gelatin Prints class, I teach a mock cyanotype technique.
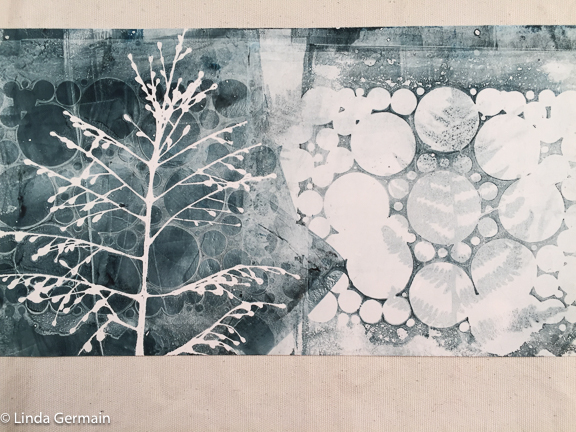
I love the mixture of black and cyan ink. I think it produces some nice rich impressions. Delicate weeds and intricate cut glass are good tools for this process.

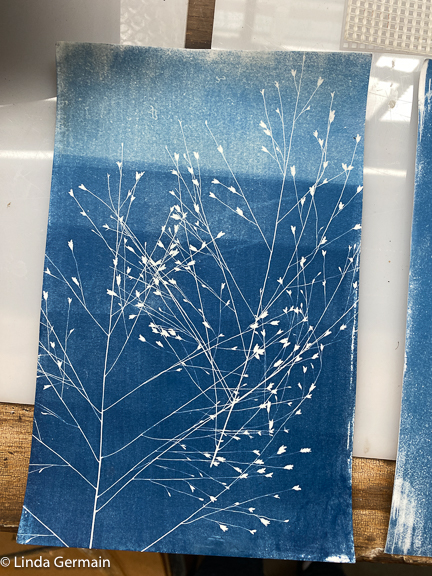
But today I made a few real cyanotype prints. I have been collecting inspiration online and have a list of approaches that I want to try. It does take some planning and preparation.
- I mixed the chemicals 24 hours earlier.
- Then I painted the mixture on to the papers
- Wait for them to dry in a darkroom
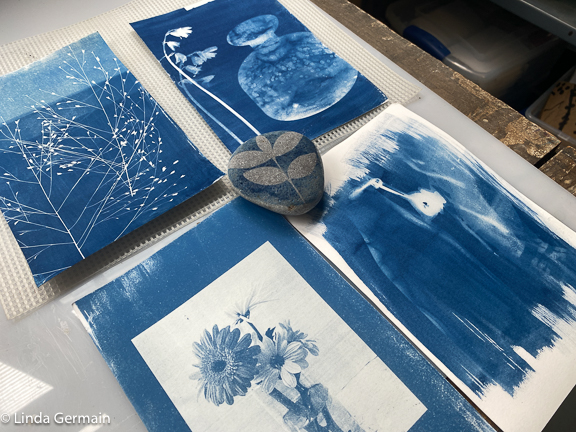
Luckily, I had a bright sunny day. I started with few grasses and a test strip. I exposed a little more paper every minute, for a total of 5 minutes. The pale blue was exposed for 1 minute direct bright sun. And the dark blue at the bottom was exposed for 5 minutes
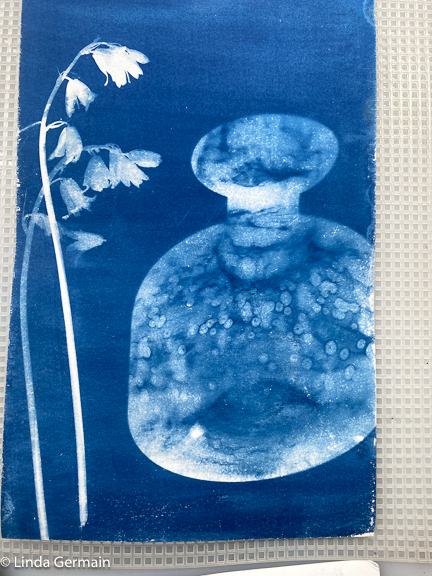
I had prepared a digital negative of a photograph. My printer is low on toner and the black areas were a bit transparent, so I underexposed the print so I would not lose all the detail. I am pretty pleased with the result.
The light is always changing and different tools block the light differently too. I really wanted to do a glass cast shadow. I first attempt fail, not enough shadow. As time passed the shadows got longer. Second try much better.
I even tried printing on a rock.
I will continue to play with the cyanotype process. If you would like to explore my mock cyanotype process, then check out the details of the class Simplify – Gelatin Printmaking.