I am so passionate about gelatin printmaking, that I want everyone to experience the delicate detailed impressions that are possible with gelatin printmaking.
Things that usually stop people from trying the printmaking process include:
- Time
- Money and
- Fear
I am here to help you eliminate all three.
I have tried to make this tutorial using supplies the you already have in your house or studio.
Three steps:
- Make the plate
- Gather tools, supplies and paper
- Print, explore and have some joy
Make the Plate
This is a simplified recipe and it will last for about a week of printing. That will give you enough time to play and decide if you like the process.
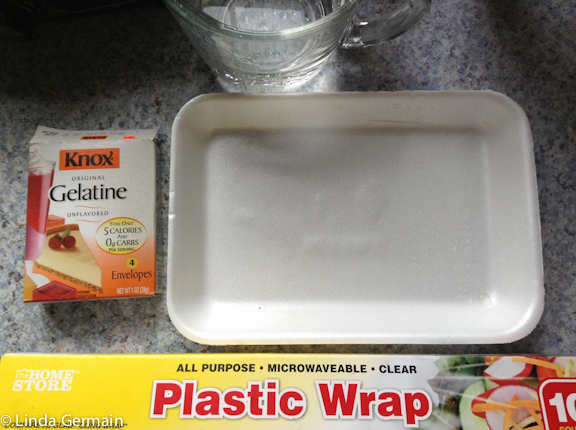
Supplies:
- Level counter top
- One box of gelatin, = 1 oz (28 gm)
- One cup of water (237ml)
- bowl to mix in
- Fork to stir
Then if you find that you love the process, you will probably want to make the longer lasting gelatin and glycerin plate, that does not have to be stored in the refrigerator.
On to making the plate:
- Put some water on to boil.
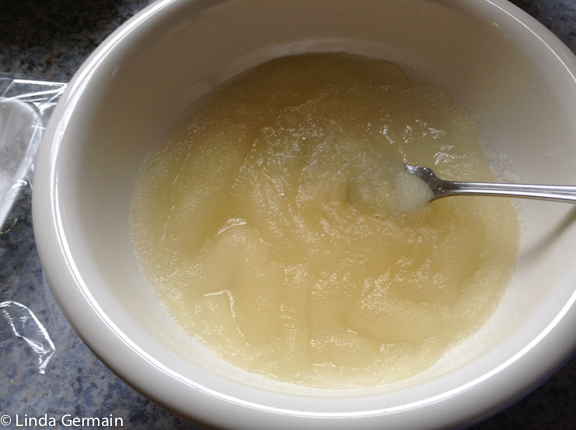
- Measure 1/2 cup (120 ml) tepid water into bowl
- Sprinkle 1 oz (28 gm) powdered gelatin onto the surface
- Let set and bloom for 2 minutes
- It will thicken and look like applesauce – do not stir.
- All the gelatin should dissolve, pat or gently mix (over mixing will cause lumps and bubbles)
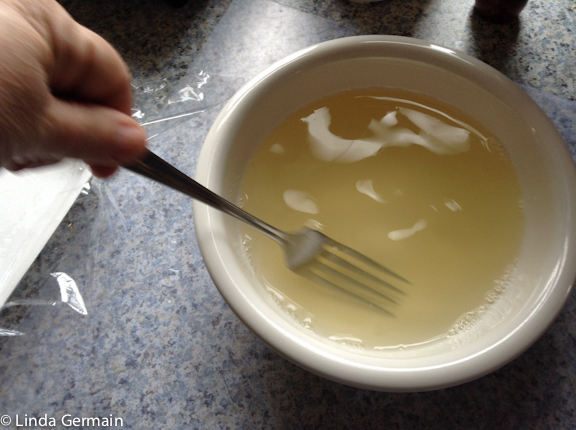
- Add 1/2 cup (120 ml) of the hot boiling water
- Gently stir to dissolve all the gelatin crystals
- If needed, microwave for a minute to help completely dissolve the gelatin.
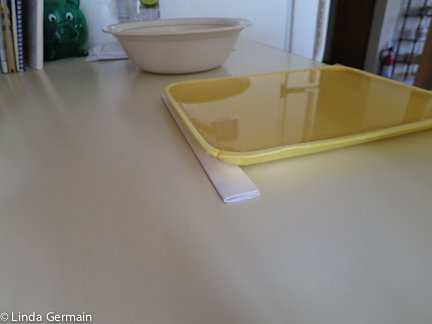
- Pour completely dissolved gelatin into your level container. Pay attention and make sure it is all going into the container
- LEAVE IN PLACE until it has hardened. This could be 20 minutes or 2 hours depending on the weather and room temperature.
- When harden put in refrigerator for a couple of hours. This makes it a little more sturdy.
Now on to step 2 – gathering supplies and setting up your workspace.
Want specific help and support check out the upcoming printmaking workshops.