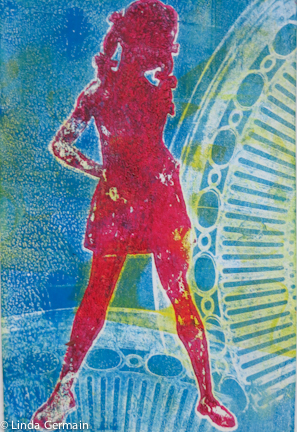
Masking stencil print
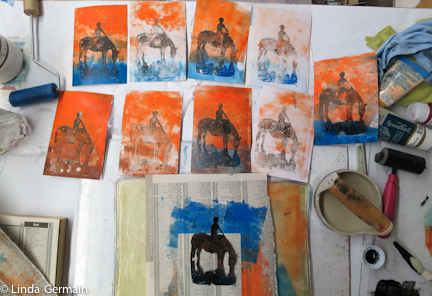
 Today I kept the stencil print simple
- I found a bright and chaotic gelatin print in my pile of index cards
- Inked the gelatin plate with the blackest black/blue I could mix up
- set the masking stencil on top of the inked gelatin plate
- then printed on to my chaotic colorful gelatin plate print
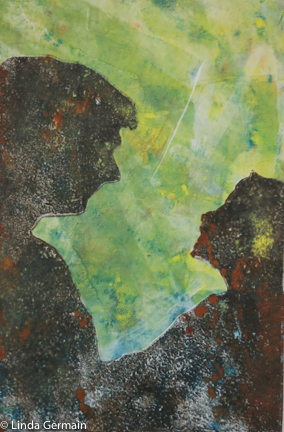
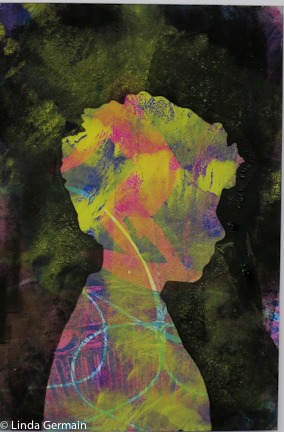
This stencil print
- uses a masking stencil that I cut out of 90 lb drawing paper
- coated with mat medium several time and
- was created from a photo of my nephew.
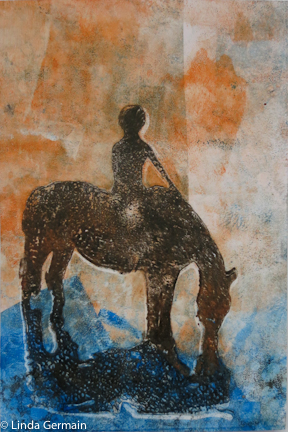
You could easily print this with out a gelatin plate, just dab paint on to the print paper by hand while holding the masking stencil in place. But I try to use the gelatin plate when ever I can.
If you have not tried gelatin printing yet, well then do it!
- Make a gelatin plate here’s the video tutorial or
- Follow the written instructions on how to make a plate for gel printing
- After the gel sets up and does not wiggle!!! then put it in the refrigerator at least for a few hours. I like to leave it over night. Or skip all this and buy a gelli plate
- Gather paper and inks or paints, stamping tools and masking stencils
- and Play all Day!
- then Share your success with the gelatin printmaking flickr group and the Facebook group
- Be Sure to check the FAQ page if you have any questions about gelatin printing.
Happy Printing!
Masking stencil print Read More »