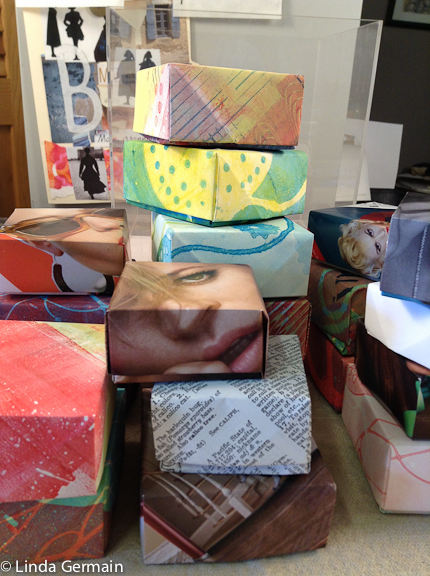
 If you have been printing for a while, then you probably have a pile of less than perfect prints. So let’s fold them into small boxes.
Supplies to Make an Origami box
- Square paper – not too thick and 6″ to 12″(15 to 30 cm)
- Clean flat surface
- Good lighting
- Clean fingers
- Glue stick optional
- Pencil
- Ruler to see 1/8″ (3 mm)
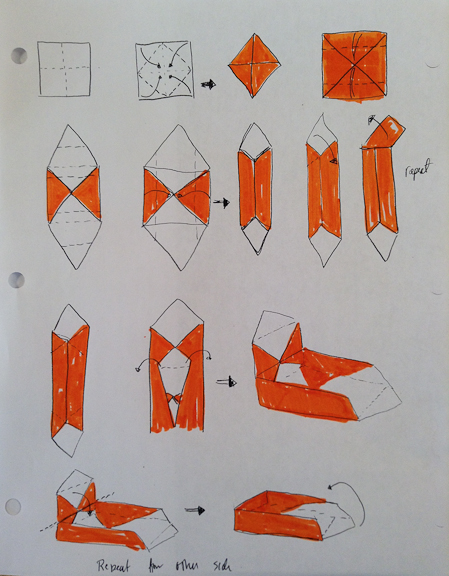
Print out the diagram below.
- The orange is the colored side of the paper and the outside of the box.
- The dotted lines are fold lines
- Click here to download the pdf – Origami Box PDF
Video instructions on how to fold the Origami box
Video password: box
Origami Box from Linda Germain on Vimeo.
Troubleshooting the fit:
- Make nice sharp creases
- Use lots of fingers to keep your points in place
- Get you eyes right above your paper to see clearly
- Ease the corners, don’t crush them
- Give yourself time to learn and practice
- Use your pencil mark to train your eyes to see 1/8″ (3mm)
- Thicker paper may need more than 1/8″ (3mm)
- If your cover box is to big give less than 1/8″ (3mm)
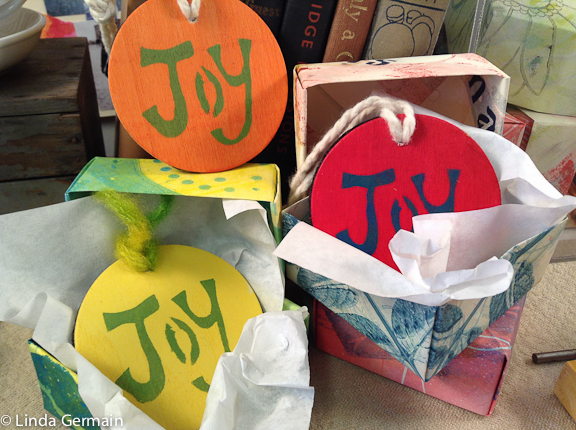
Now what will you do with all your boxes?
You could spread some joy. Make some small holiday gifts??
Want more ideas on turning your prints into gifts?
Then be sure to join us in the online printmaking course – Printed Gifts – get the details here. Class is open right now