Masking stencils are one of the key tools that I use when gelatin printing. I use this kind of stencil to mask and to transfer ink to the print paper.
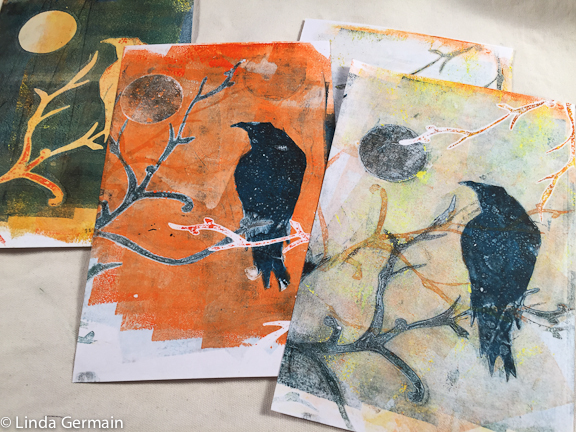
I want to help you get started with gelatin printmaking.
So keep it simple and have some fun.
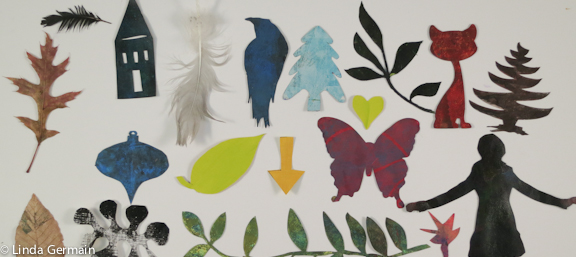
Steps to Get Started with Masking stencils
Sometimes a few boundaries help to get me started, so I offer them to you.
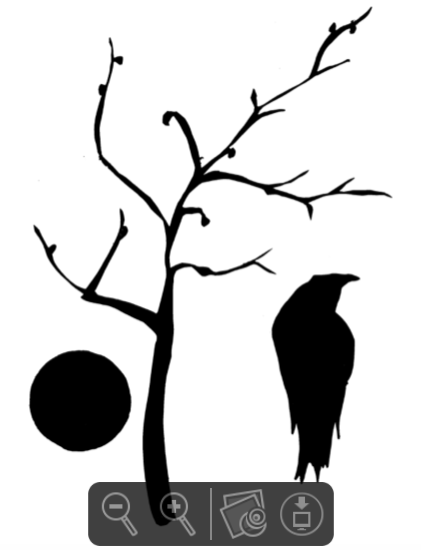
Here is the link to the 3 piece PDF download.
Making Stencil KIT with bird This is to help get you started with 3 stencils that will work together.
- Download the PDF
- Print the images on a piece of card stock or other smooth heavyweight paper that you can run through your printer.
- Gather a knife with sharp blade and cutting mat and good light
- Cut the bird and the moon shapes first to get you warmed up
- Tips to remember:
- Use a new sharp blade to get smooth cuts
- Move the paper instead of moving the blade
- Cut the tiny details first – it is more stable this way
- Look at the image from the backside to check for clean cuts
- Don’t be afraid to cut beyond the outline several times when cutting a delicate curve
- Give yourself plenty of time to cut the stencils
I suggest coating both sides of the stencils with some gesso, acrylic paint or mat medium. This will make your stencils stronger and more durable. This is time consuming but it makes your stencils strong and durable.
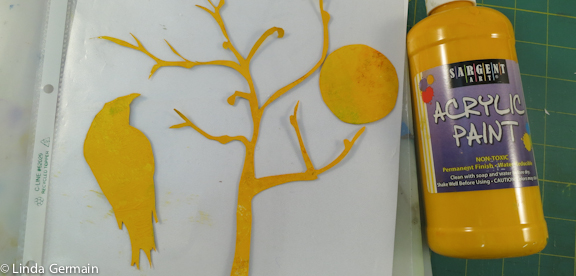
Tips to remember when coating the stencils:
- Thin coats dry faster
- Place stencil on plastic page protector, apply paint and gently move to a clean page protector
- Gently reposition the stencil as it dries so it does not permanently stick to the table
- Remember that the brush or roller marks that you make with the paint will show
- You can sand them down later if you don’t like the texture
- You can re-coat your stencils at any time
These stencils work well together because:
- They are different sizes.
- They combine stability and movement.
- They are objects that might be seen together.
As you design your own stencils think about those 3 aspects.
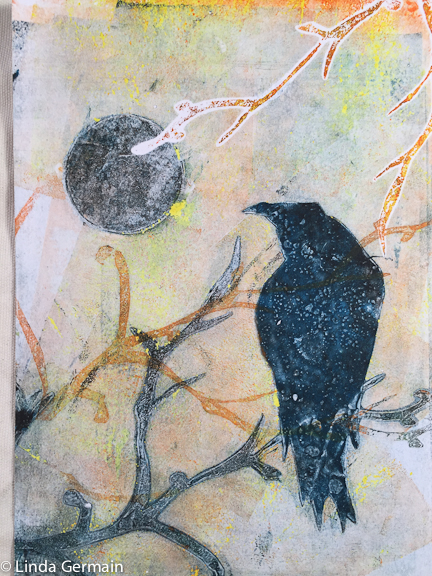
Now you are ready to play with your stencils on the gelatin plate. Combine them with some of your own stamping tools and create unique monotype images.
If you enjoyed this tutorial and would like to explore gelatin printmaking in more depth, then check out the details of the my other workshops.