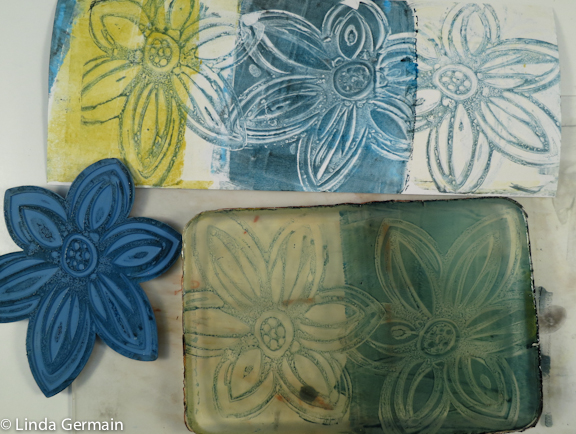
Recycled Tile for stamping Gelatin monotypes
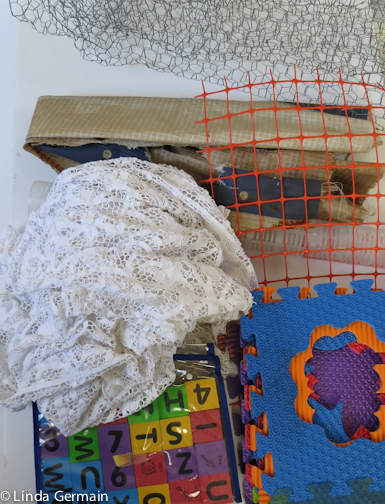
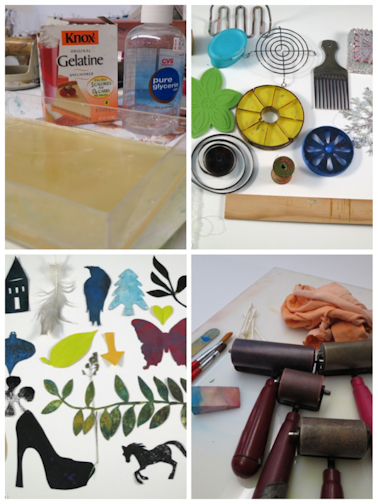
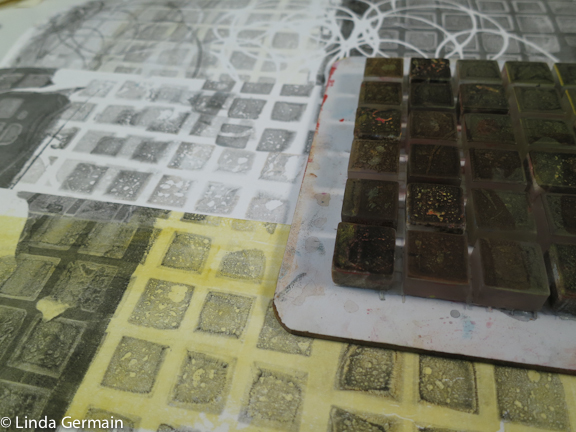 WE have a great recycling store near by, called Extras for Creative Reuse. It is a membership type place and when you visit you can take pound and pounds and bags of stuff! I find lots of interesting “printmaking tools”.
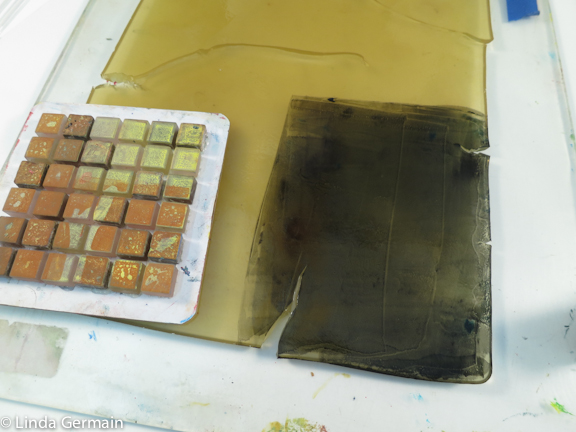
This tile sample works great to make marks in the thin layer of ink on the gelatin and glycerin printing plate. Then when the ink builds up on the “tool”, I print the ink back on to a clean area of the plate and get a very detailed impression with mere hand pressure.
If you would like to explore tool gathering and monotype printmaking on the gelatin plate, then join us in an online printmaking workshop.
Additionally, you will receive a weekly email about printmaking, ideas, tips and courses.
Join us today and start having fun!
Recycled Tile for stamping Gelatin monotypes Read More »