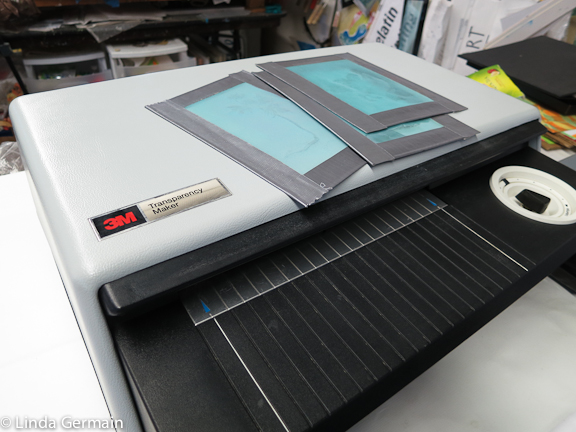
Thermofax machines were used to make copies in the 1990’s I think. Now they are treasures to mixed media artists, printmakers and tattoo artists.
These big bulky machines can makes screens for printing in a matter of seconds. All you do is place a carbon based copy against the emulation coated screen and run it through the machine. Watch the video.
You can buy these machines and the emulsion coated screens from Welsh Products. I got my machine from them a few years ago.
Or I do offer a starter kit of 8 screens. It is a nice way to get started, and to see if you actually like and would use the process in your art making.
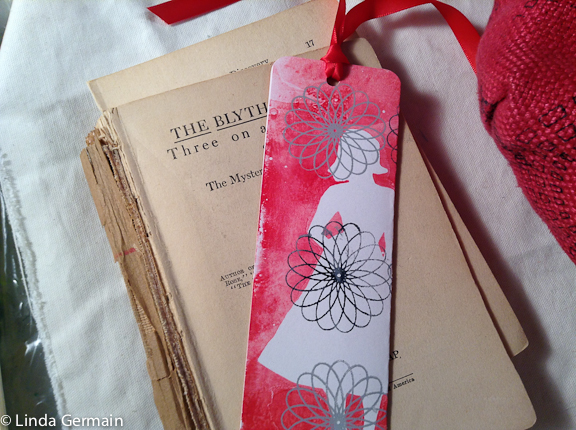
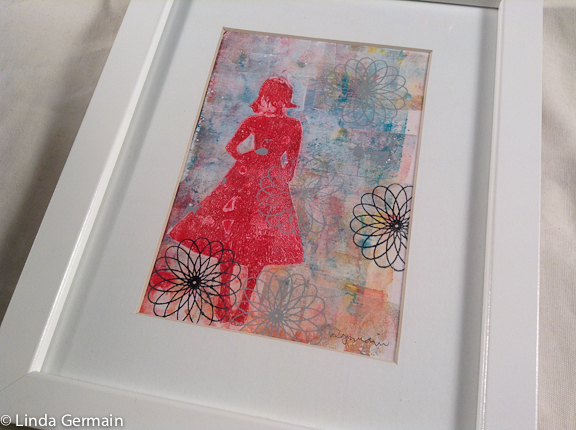
For example, I added the spirograph flower design to this gelatin monotype with a thermofax screen from the starter kit.
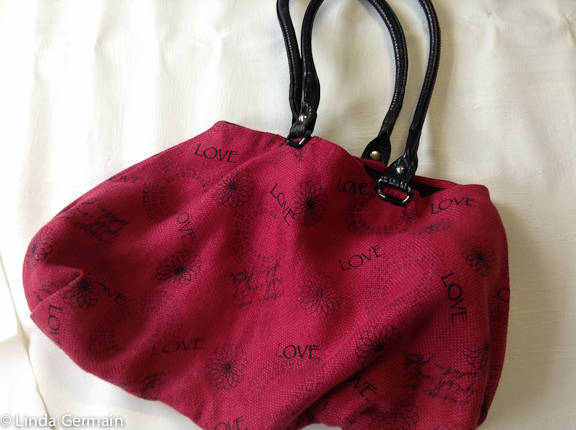
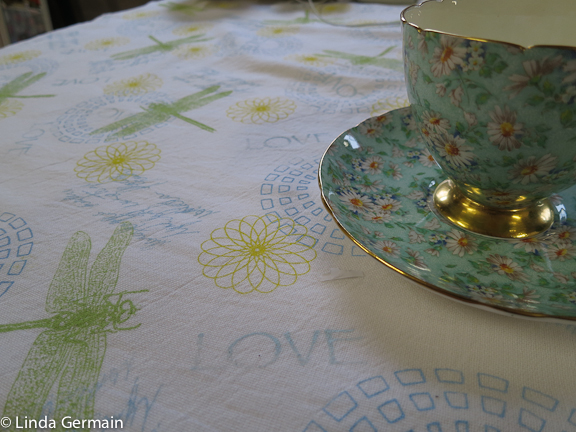
I used 4 of the screens in the kit to print this overall random pattern on this fabric, then sewed it into a bag.
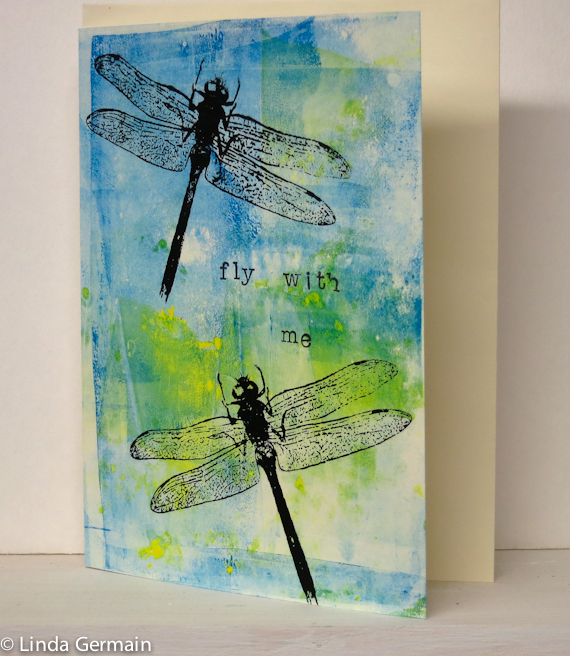
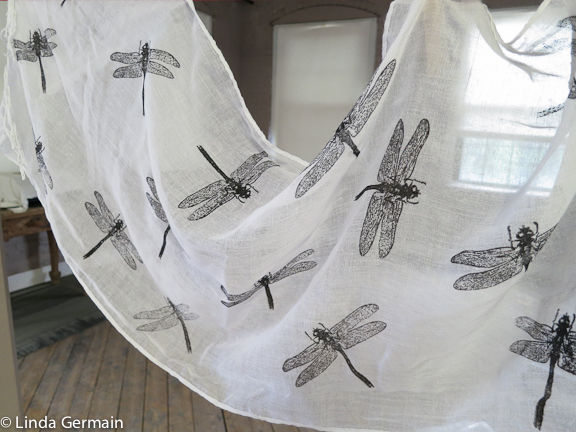
I used the dragonfly screen to make a series of cards. So I am sure that you could create some beautiful images with the 8 designs that come with the thermofax starter kit.
I love thermofax printing so much, and I want you to love it too. Today, I am making it easy for you to get started with thermofax printing.
I am sharing some ways that I have used the images in the Thermofax Starter Kit and offering a 25% discount in the link below.
Ready to GET your 8 thermofax screens and access to 4 private videos to get you printing TODAY!
Sale has Expired
This Kit is no longer available.
Or keep on reading and see what is possible with the starter kit.
In this gelatin plate monotype print, I used the spirograph thermofax image in 2 different colors to add interest, create motion and dynamic balance in the print. You could do the same or come up with other ways to use the image to add accent marks to your prints.
Here, I cropped a similar gelatin print with theromfax accents into a bookmark. This is a fun way to put your gelatin prints to use.
I used 5 of the screens from the thermofax starter kit to all over print the red fabric and then I sewed it into a hand bag. I lined it with some hand dyed fabric and repurposed the handles from another bag. All over random printing on fabric is fast and fun with thermofax screens.
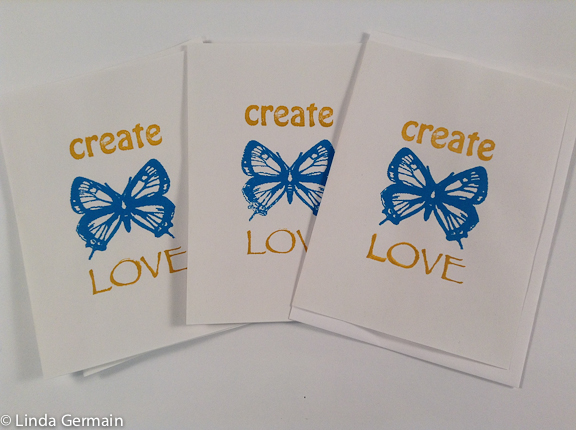
I used 3 of the screens from the starter kit to make a few “Create Love” cards. So you are starting to see some of the different ways to combine and print the 8 screens to make plenty of printed projects.
For this dragonfly card, I use the thermofax screen that comes in the starter kit, printed over a gelatin print background and then hand stamped “fly with me”. I know that dragonflies are very popular.
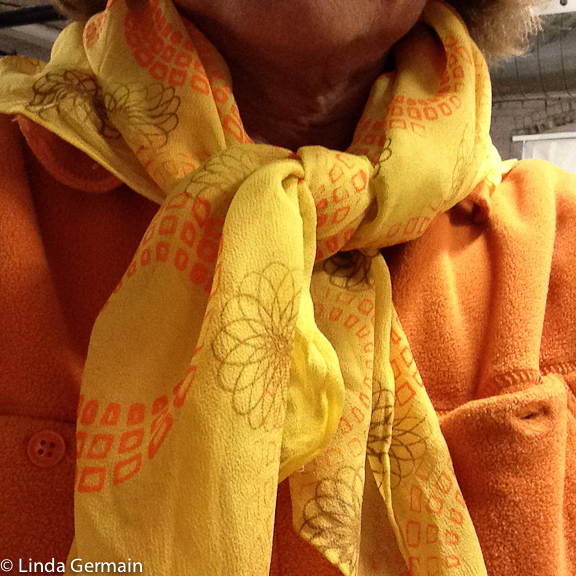
The thin line drawings of the thermofax images are great for overall printing on scarves because they only let thin lines of ink pass through to the fabric. That allows for a softer feel when the fabric dries. Ink sits on the surface as compared to dye which is absorbed into the fibers.
When printing on very thin scarves, I have thinned the inks with regular shaving cream. It is some what experimental and does affect the permanence of the inks, but it gives a softer feel. I used 2 of the starter kit images in this yellow scarf.
I used 5 of the 8 screens from the thermofax starter kit to make a small table cover. I used soft pastel colors so the images would blend and compliment each other.
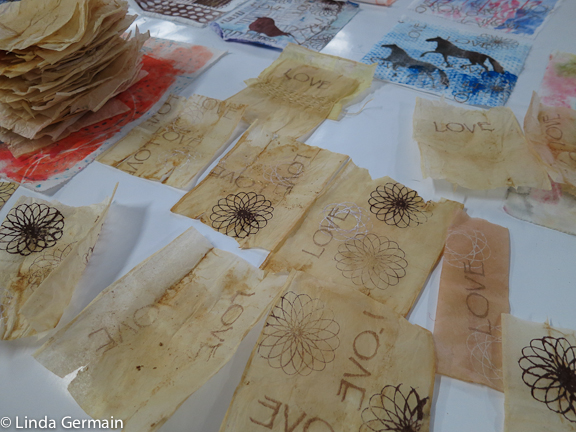
Another idea is to use the thermofax screens to print on teabags or other mixed media papers for a variety of projects. The possibilities are endless.
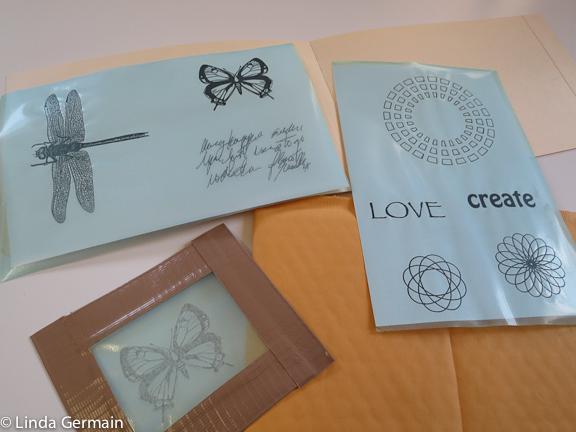
This is what you get:
You get the 8 screens shown above and access to 4 private videos that will:
Show you how to cut, tape and stabilize the screens
Print with the screens
Choose substrates to print on
Get you started
You will also get information on how to set up your workspace and clean and care for your new screens.
The set of 8 screens and the access to the videos and instructions with the link below is cost $40.00 plus $5 shipping.
To get your screens just:
click the link below and I will ship them to you asap.
I can ship to any place that get international mail delivery. That is probably where you live too. 🙂
This Kit is no longer available.
This video will give you an idea of how to print with the thermofax screen starter kit.
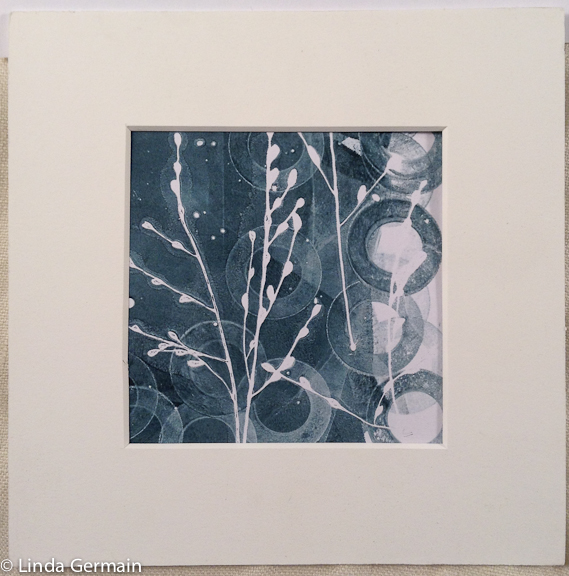
Sometimes you pull a gelatin print and it is perfect in it’s simplicity. And it is ready to frame.
And then other times the monotype print becomes a background for a stencil or screen printed image.
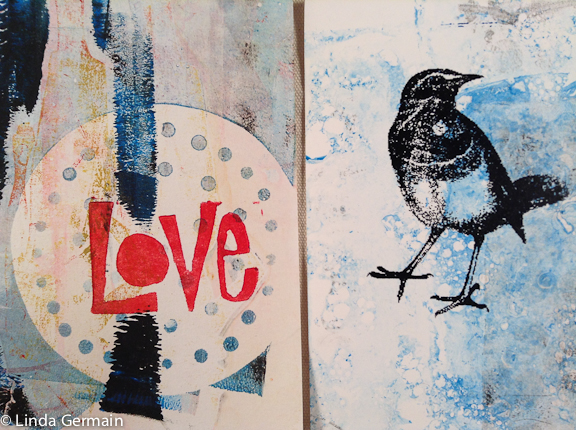
The “Love” print is a gelatin print background and a hand carved stamp for the love focus. The bird print is a thermofax screen print on top of a light blue gelatin print.
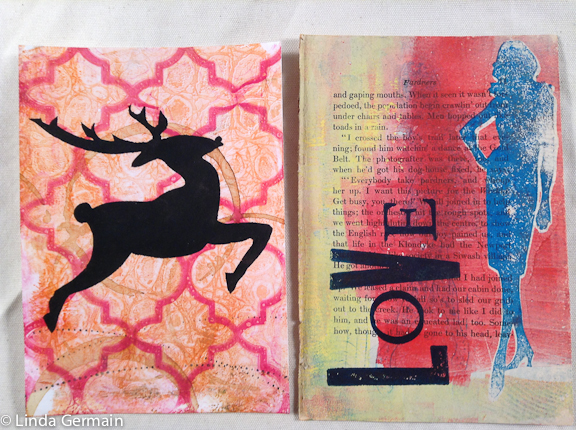
These 2 gelatin prints have a dark focus that was added after the gelatin printing process. The reindeer print shows how a delicate and detailed background can be the perfect surface for a bold shape.
The Lady Love print shows the brayered blocks of color and the beauty of simplicity that is possible with gelatin plate monotype process. The “love” was added with hand printing with old wooden type from the Museum of Printing.
Have you explored gelatin printmaking yet? Need a little help getting started? Consider the Gelatin Printmaking Workshop. It is a self study, online course to help you make the plate, find and create tools and guide you to printing with confidence.
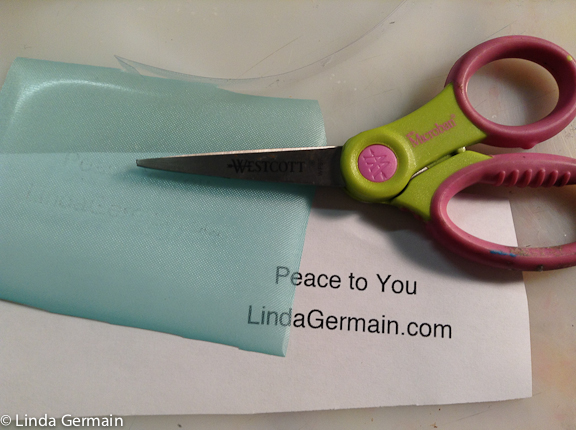
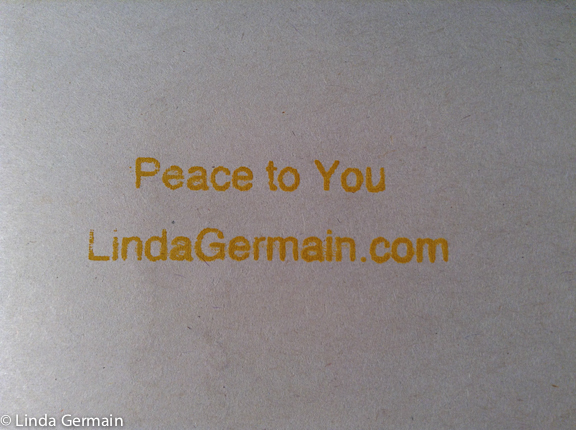
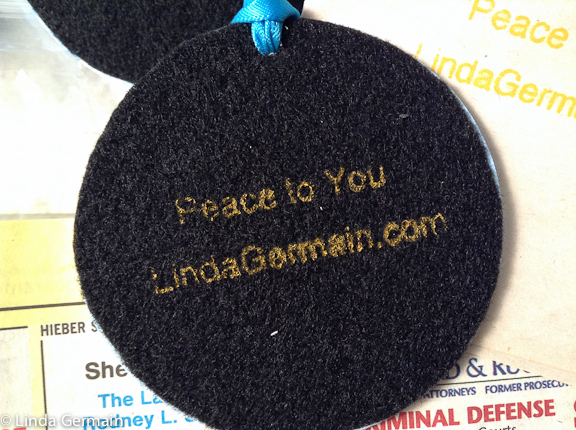
Today I made a thermofax screen of the text, Peace to You. I was hoping to print on the back side of some ornaments that I am making.
The screen came out pretty clean and I was able to print clear images on paper, but when I tried to print on the felt the impression was inconsistent. I ended up pushing too much or too little ink through.
I did print a few ornaments hoping that I would get into a rhythm and could get a clear and consistent print but that did not happen so I will just let this idea go for now.
I think the loft of the felt was too inconsistent and the need for the print to be perfect and readable. Sometimes things don’t work out and I have to keep trying new ideas. Just one more day of my #SEEdrawPrint challenge.