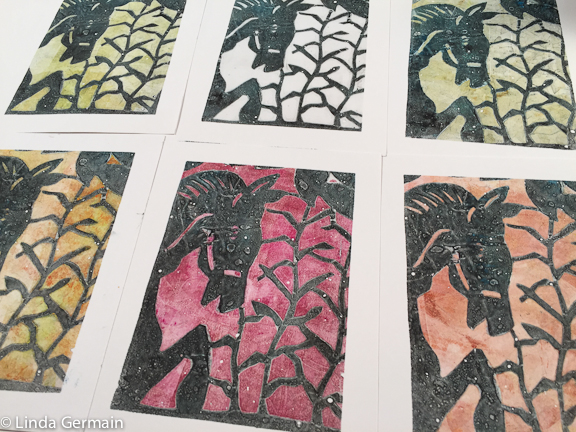
1 – Simplify your palette to 2 or 3 colors.
When you limit your choices you have to get creative to make your prints work. A limited color palette will quite the chaos and enable you to create focus more easily.
Try it for a week! Make sure you include a very dark value color like cyan or black.
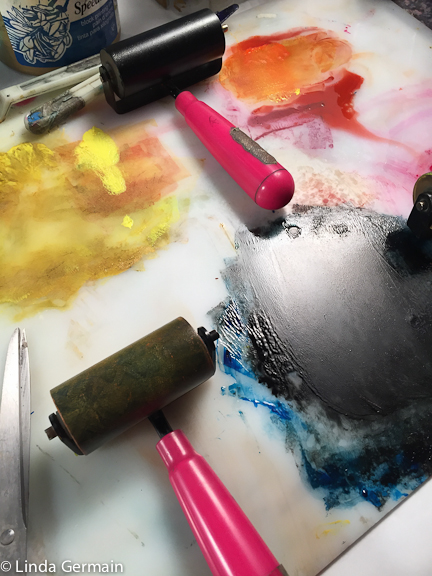
2 – Leave your palette out and set up.
This works for me. I use the speedball water based block printing inks, so I can “refresh” them and a more ink to the palette as needed. If you use acrylic paint you could leave the tools out, but you would have to clean up the paints each time.
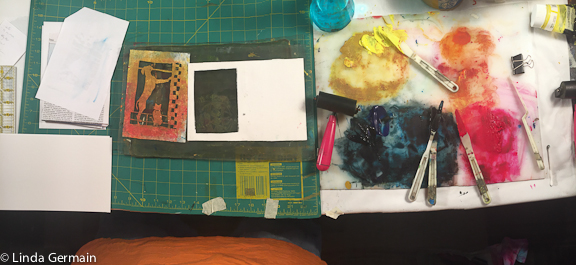
The goal is to leave things set up, there by removing any barriers to beginning.
The more you print the better your prints become.
3 – Work in a standard size paper.
This one took me a few years to figure out. I would end up with a few pleasing prints but they would stay in the flat file because they could not be easily framed.
If you would in a standard size then it is easy to find a mat and frame that completes your piece. I cut my print paper to 4″ x 6″, 5″ x 7″, 8″ x 10″. Try it out for a while and see how this works for you.
4- Embrace the idea that it is a very experimental monotype printing process.
Play with printmaking. I try to remind myself to embrace the unpredictable characteristics of gelatin printmaking.
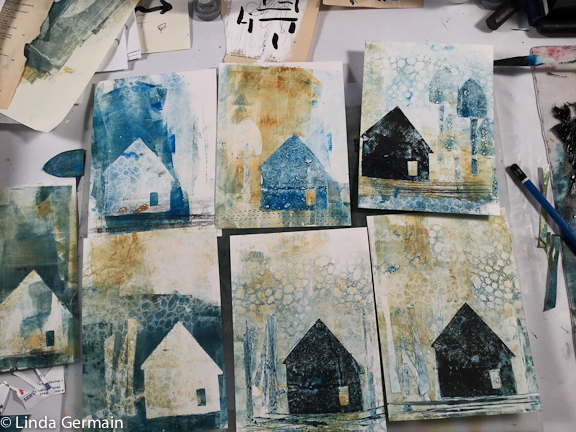
I remember that this method of printmaking is great for texture and shape. And that delicate line can be a challenge.
So if you are struggling with your gelatin prints, ask: “Am I expecting something from the process that is incongruent with the nature of gelatin printmaking?”
Then make it easier and more enjoyable and get back to the nature of gelatin printmaking
If you would like a little help with your gelatin print process, the check out the current workshops.