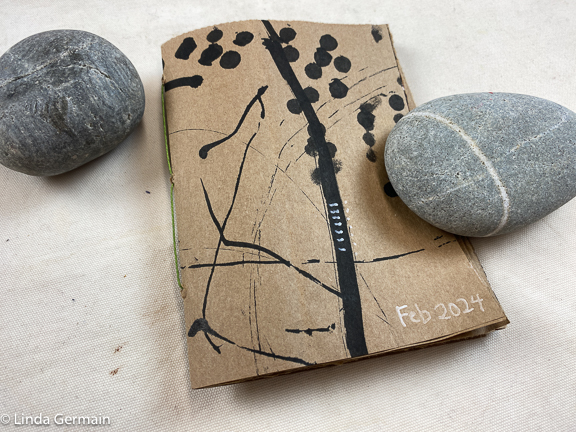
Make a brown bag book
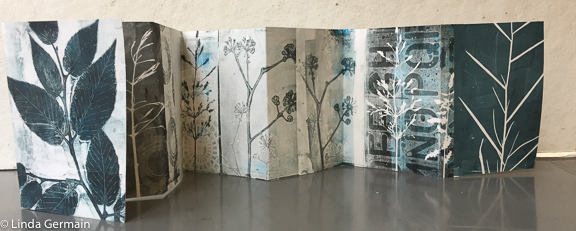
Today, I had the urge to make a brown bag book. I share with you my process so you can make some too.
- First I took the bag apart, so it was one flat sheet.
- Then I ironed out the wrinkles
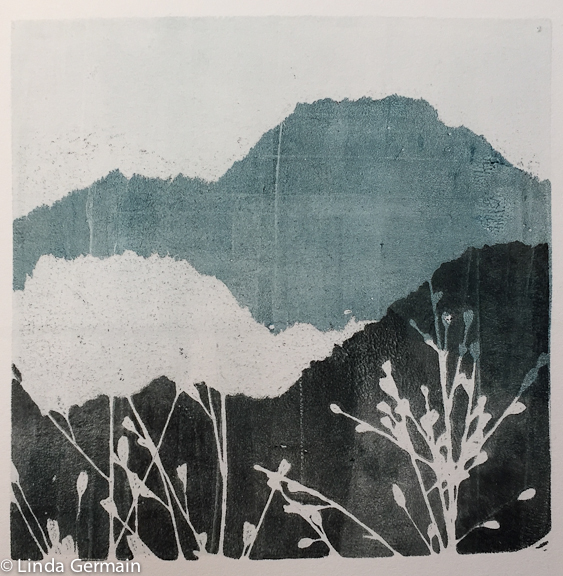
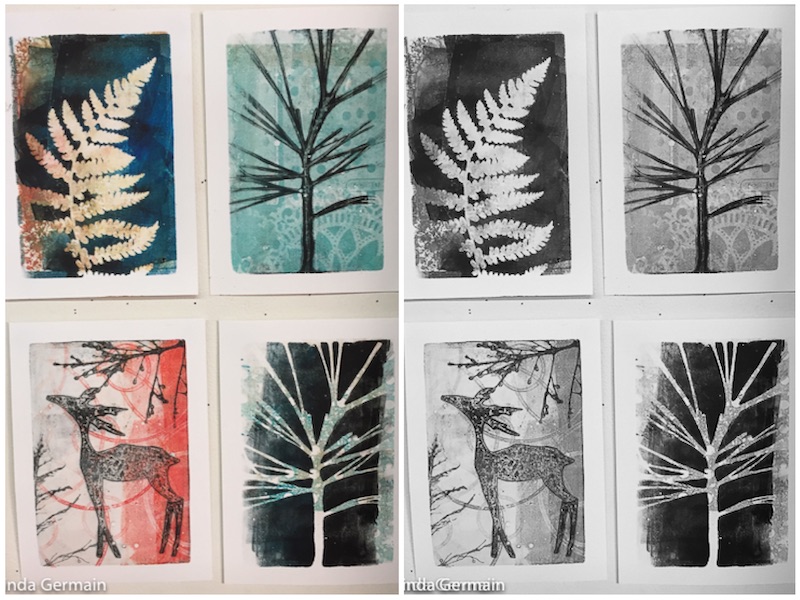
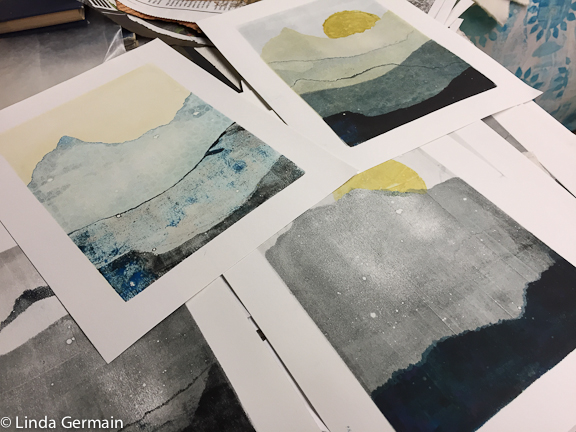
- Painted white gesso over the store advertising
- Added some bold black india ink marks
- Cut into long 10″ strips (final size 6″ x 9″)
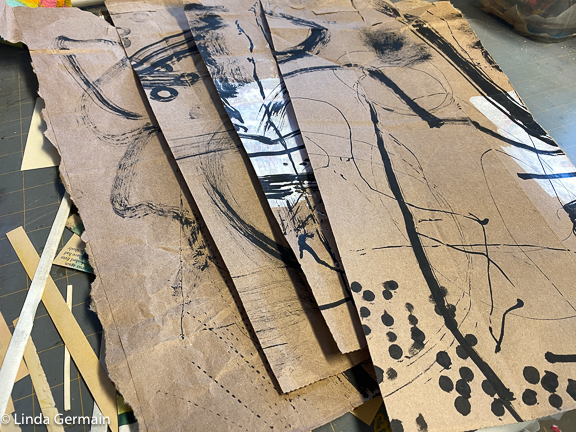

- The cut the long 10″ strip into 6″ x 9″ sheets
- Fold each in half and stack inside each other to make a single signature
- Clip together and punch 3 holes in the spine
- Follow video instructions to sew together
A couple of extra tips:
- It is ok if the pages are not perfectly the same
- Make sure your holes are big enough for easier sewing
- You can choose how you stack your sheets so you create a blank page spread and then a painted spread. Play with how you stack the sheets together to create a book that suits your style.
- Press with heavy weight to get it to lay flat
I hope you enjoy the process as much as I did. Check out the self study classes available now.
Make a brown bag book Read More »