It is quite easy to turn a little doodle or sketch into a relief stamp for printing on paper or fabric.
- Draw your image the size of the eraser
- Simplify into shapes
- Trace over the image with pencil several times to get a strong layer of pencil marks
- Tape the image pencil side down on to the eraser
- Strongly scribble over the back side of the drawing to transfer the pencil marks to the eraser
- Then remove all the areas of the eraser that are not covered with pencil marks with block carving tools
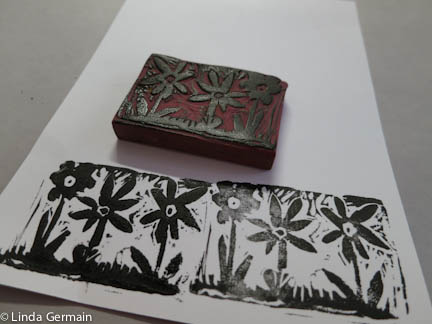
- Print and check the image and block until you have removed enough of the background to create the image you like.
- Always be careful with carving tools. Do not cut towards your fingers.
Enjoy!
Linda Germain