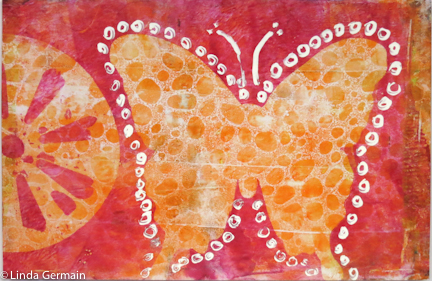
 Butterfly stencil for this quick gelatin print. I did this in 2 simple steps.
Tools for this Gelatin Print
- sponge mop head as stamping tool
- potato masher as a stamping tool
- Butterfly stencil
- white pen, or marker
- gelatin plate
- orange and magenta speedball ink
- brayer
- palette
- index card
Steps to Make the Monotype print
- Roll orange ink on the plate
- Mark into the orange ink with the sponge mop head
- Print the orange layer onto the index card
- Roll out the magenta ink
- “Stamp” into the ink to with the potato masher to remove some magenta
- Place the butterfly stencil on the magenta
- Put the print paper on top and burnish
- Then use the white pen, paint or marker to add the circles.
If you are just getting started with gelatin printing this is a good way to get started. You use both of the main tools that I use in gelatin printmaking, masking stencils and stamping tools.
Another helpful hint to getting started is to watch my videos, make a plate and start experimenting.